IFTTT Airtable Applet 準備
Sample Base の確認
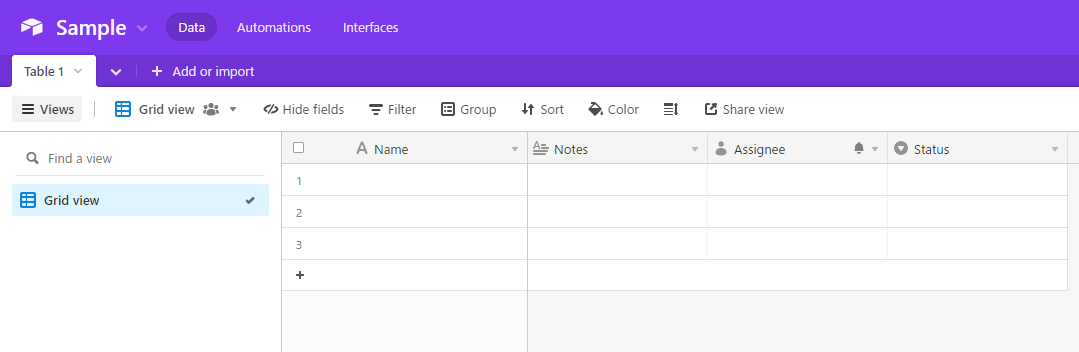
事前準備で作成した Sample Base を確認しておきましょう。まだの方は、いまつくりましょう。
IFTTT の準備
Airtable integrations と Webhook integrations の設定が事前準備できている前提で進めます。
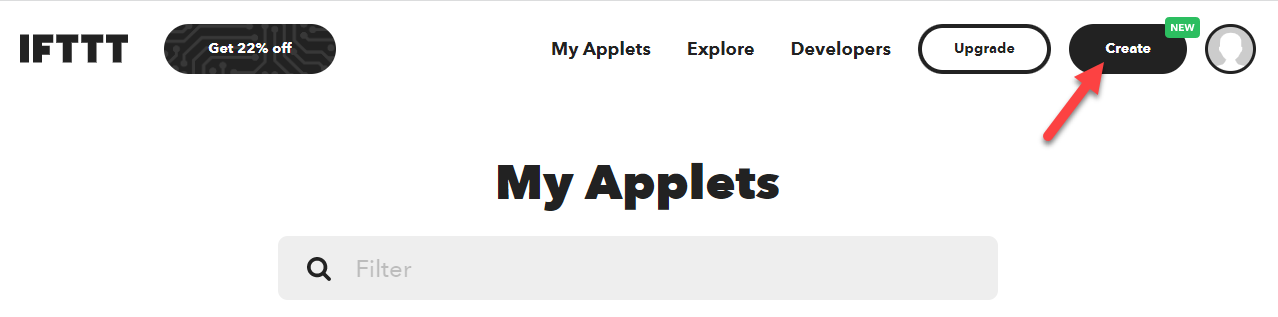
上部のメニューから Create ボタンをクリックします。2022/12 現在 https://ifttt.com/create でも行けます。
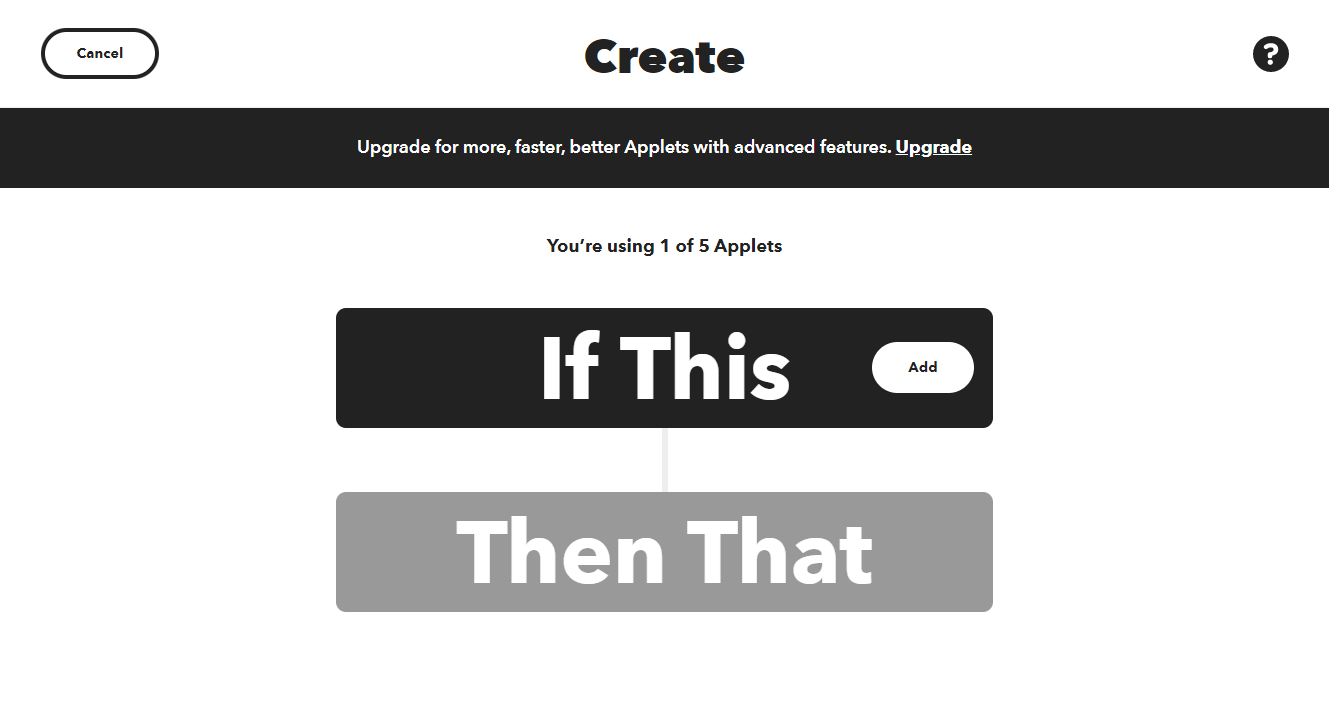
このような作成画面に移動します。
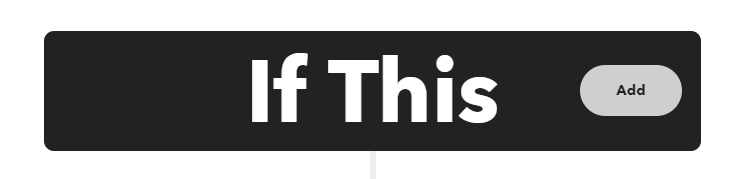
if This にある Add ボタンをクリックします。
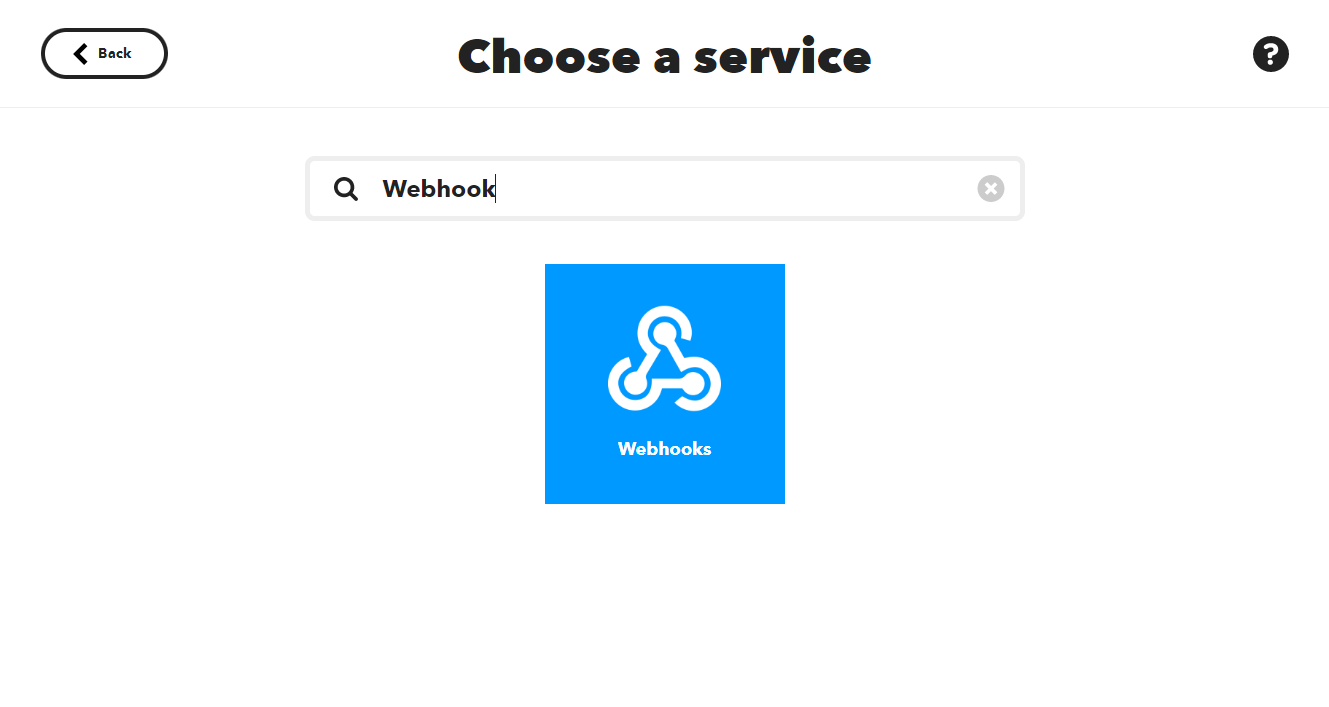
Choose a service で Webhook で検索して、Webhooks が出てきたらクリックします。
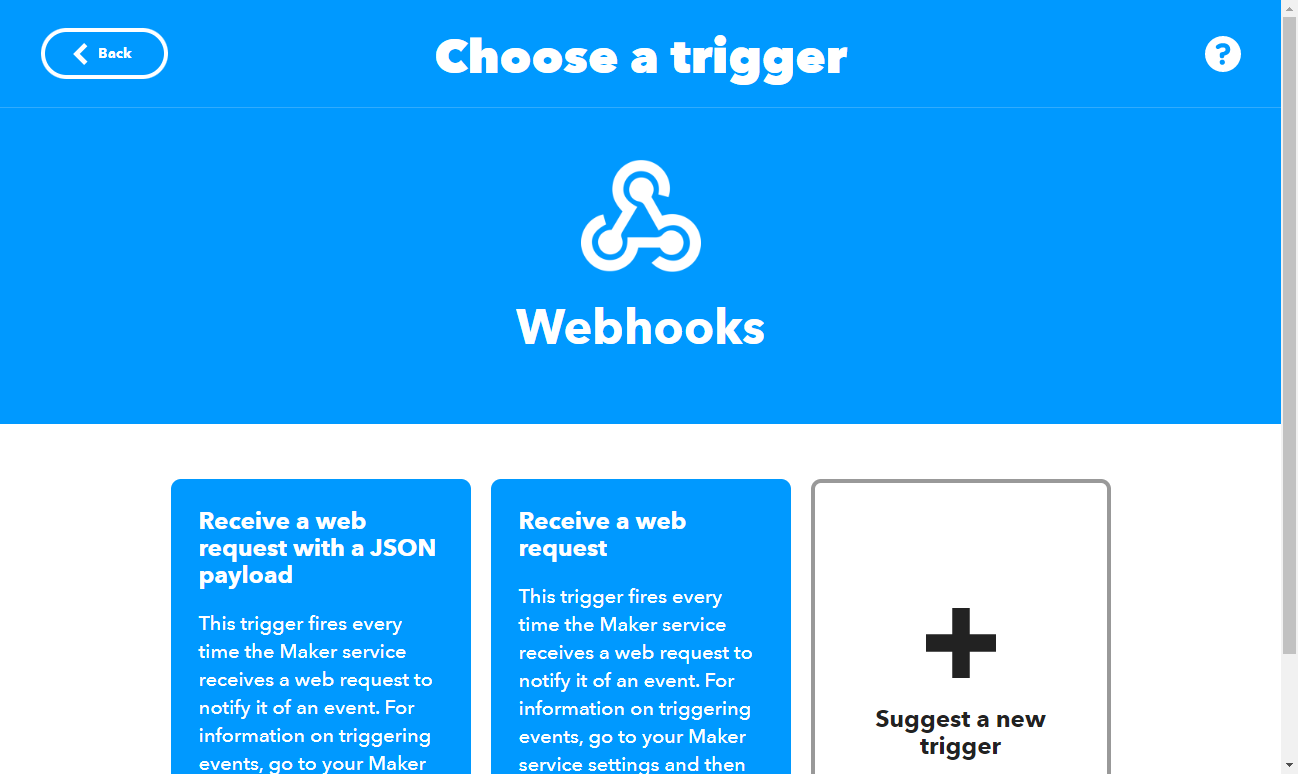
Webhooks ページです。
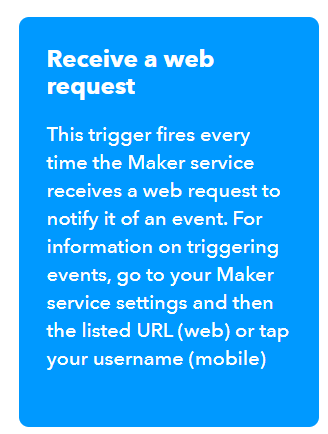
Receive a web request をクリックします。
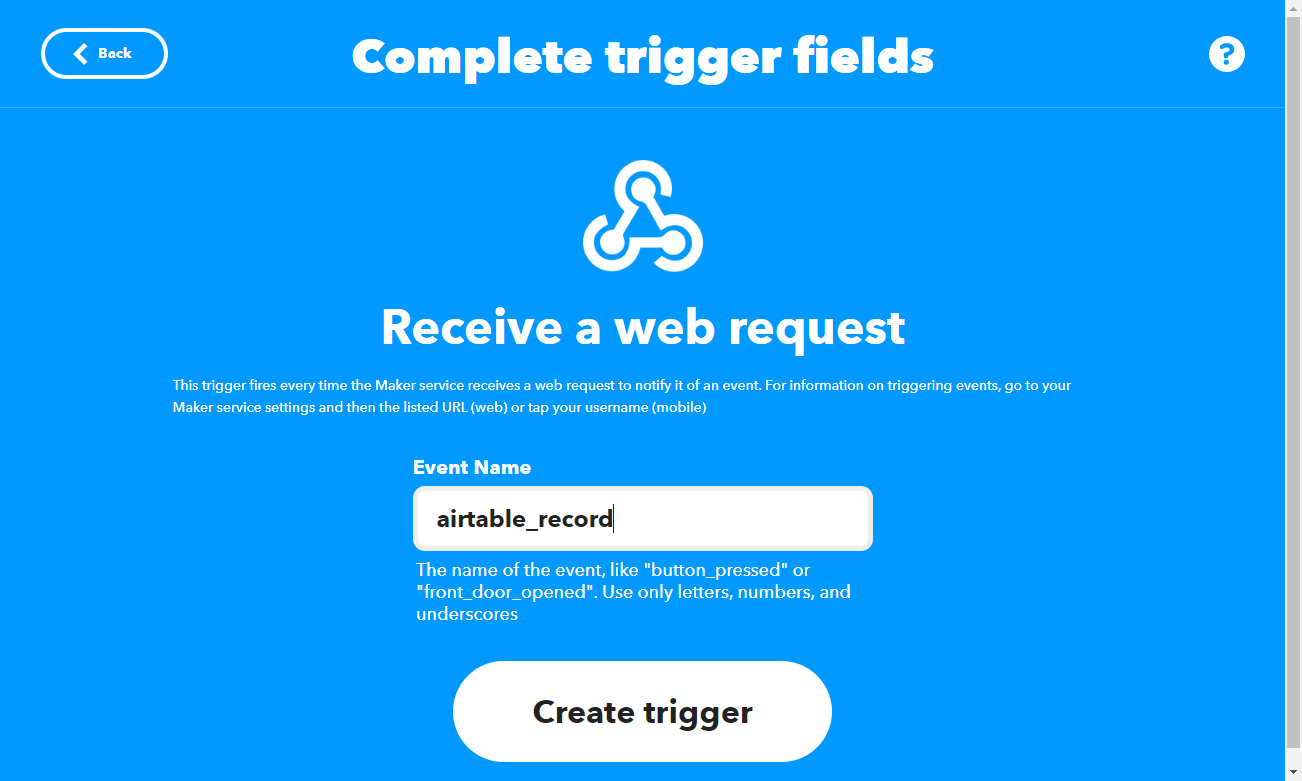
Event Name を airtable_record を入力して、Create trigger をクリックします。

Trigger (きっかけ)のほうに Webhooks が設定できました。

Then That の Add ボタンをクリックします。
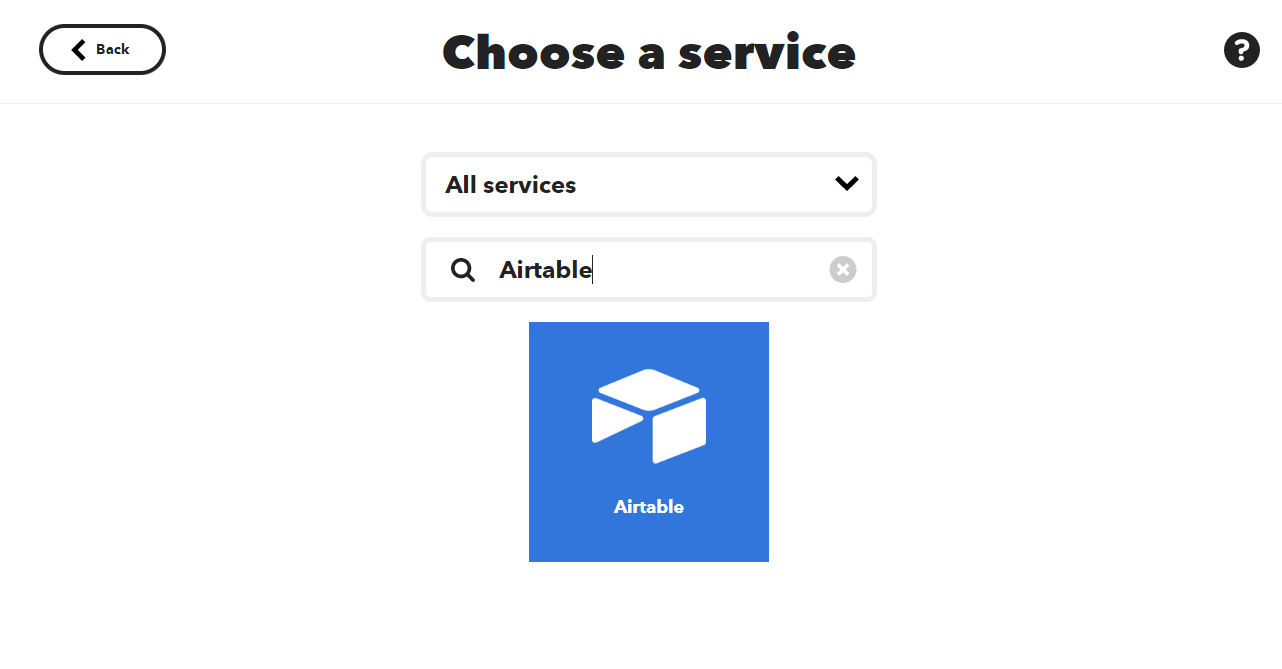
Choose a service で Airtable で検索して、Airtable が出てきたらクリックします。
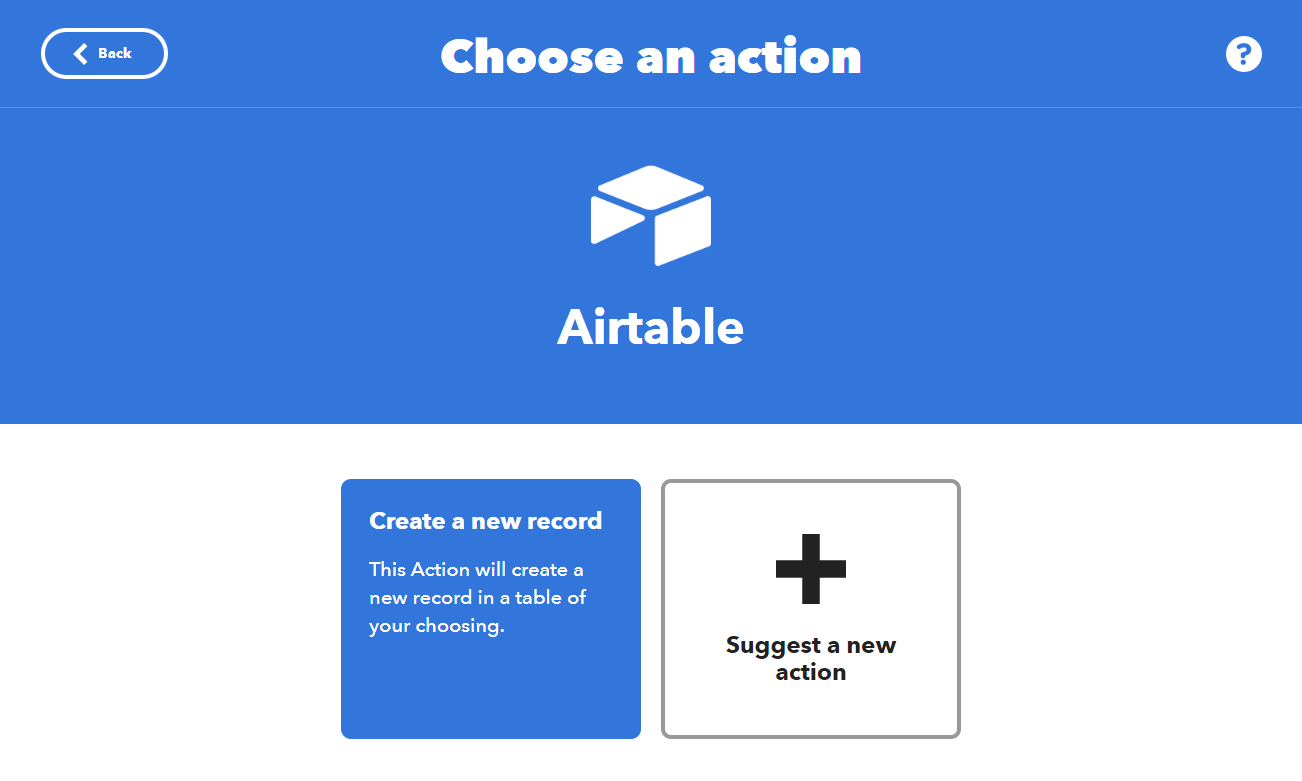
Create a new record をクリックします。
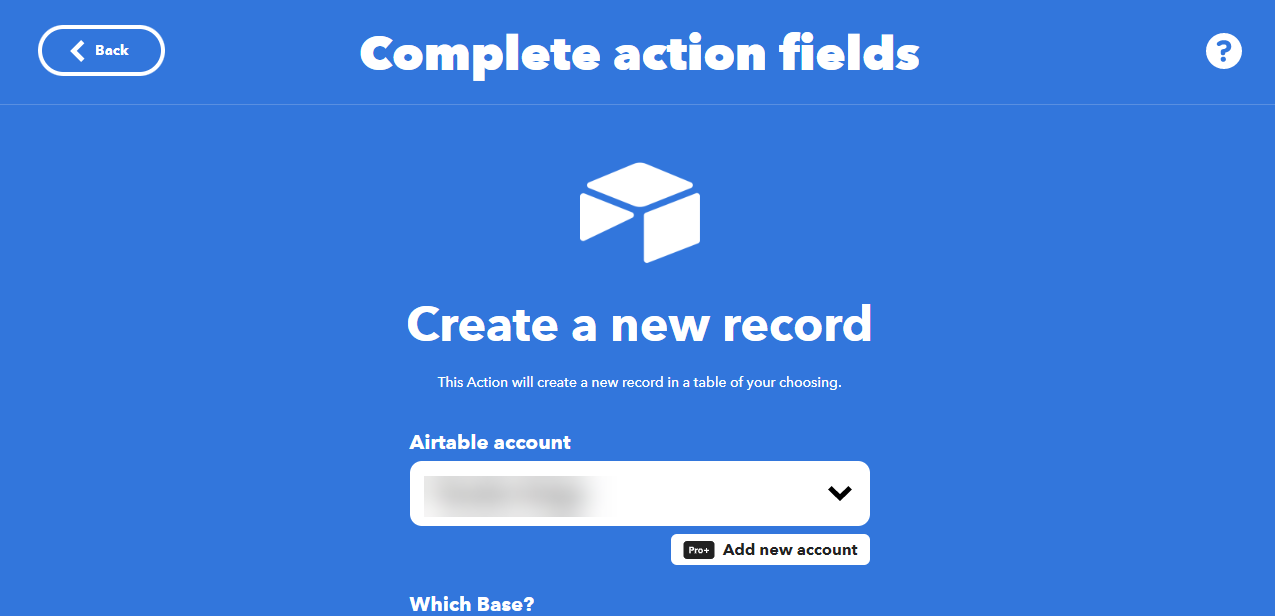
Create a new record のページに移動します。Airtable account が自分の Airtable アカウントか確認します。
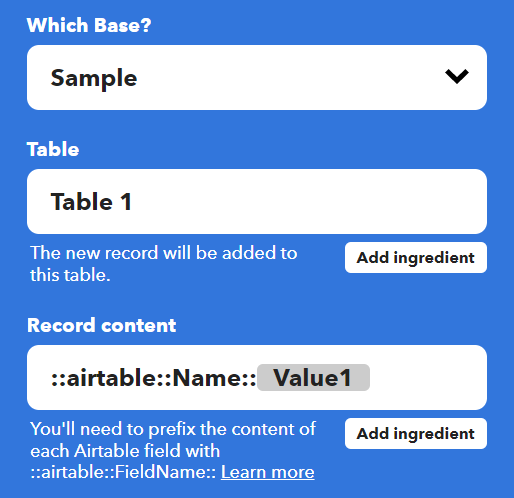
・Which Base ?Sample
・TableTable 1
・Record content::airtable::Name::{{Value1}}
と設定して、設定できたら Create action をクリックします。
Record content の細かな設定方法は、英語ですが Using IFTTT to Integrate Airtable with Other Services | Airtable Support の Making an IFTTT applet with Airtable as the action が参考になります。
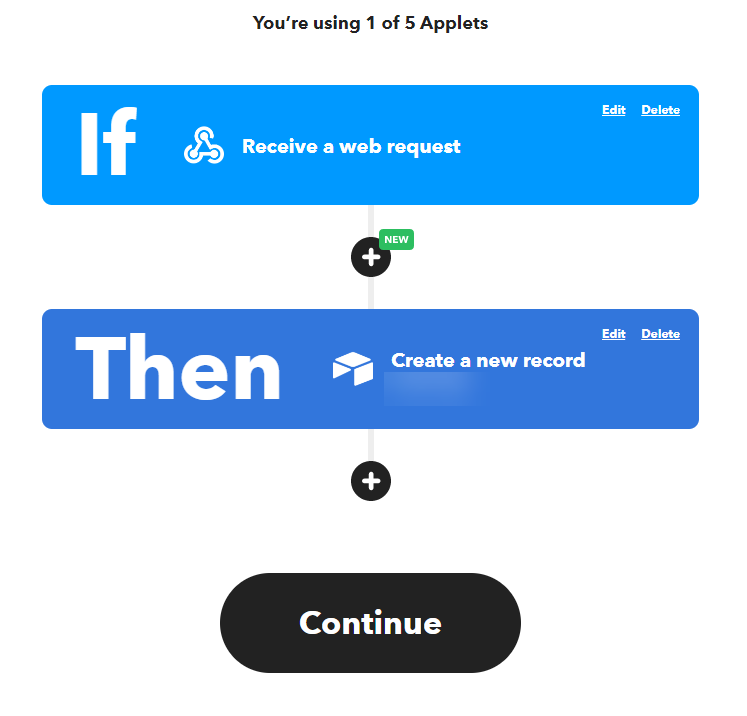
Continue ボタンをクリックします。
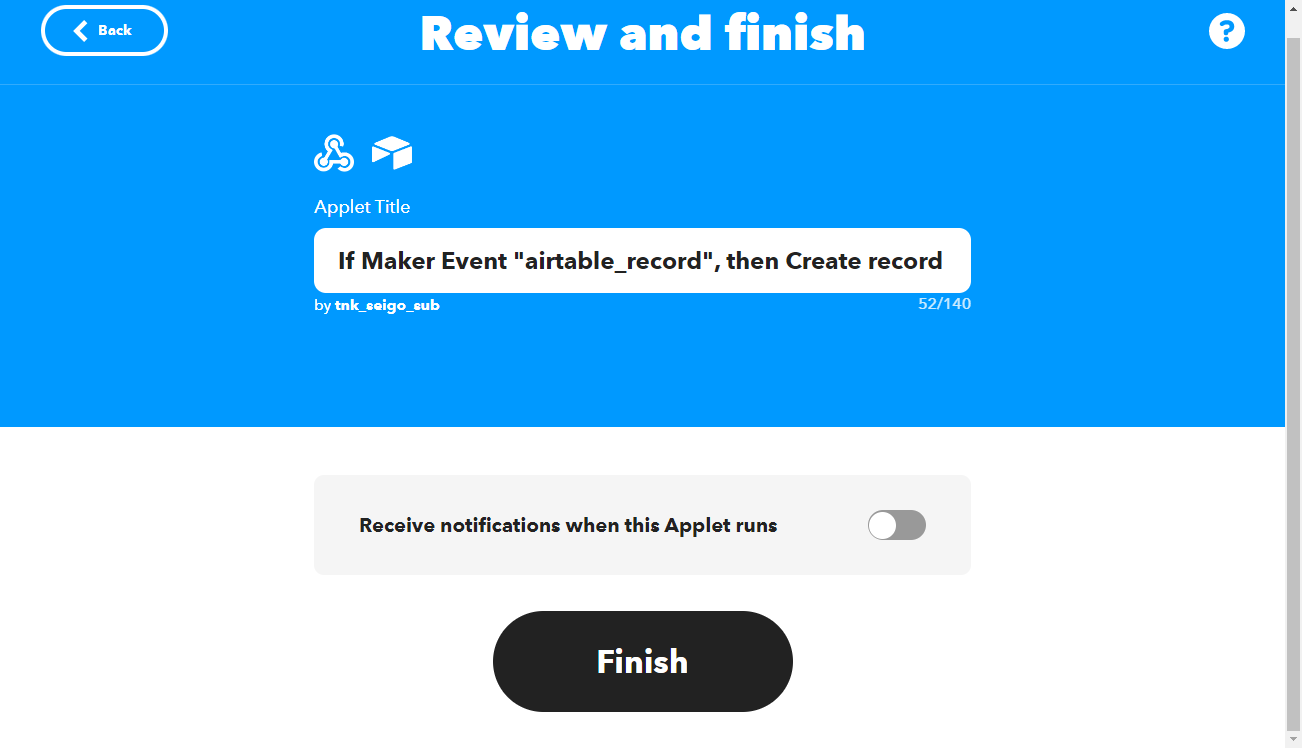
Finish ボタンをクリックします。
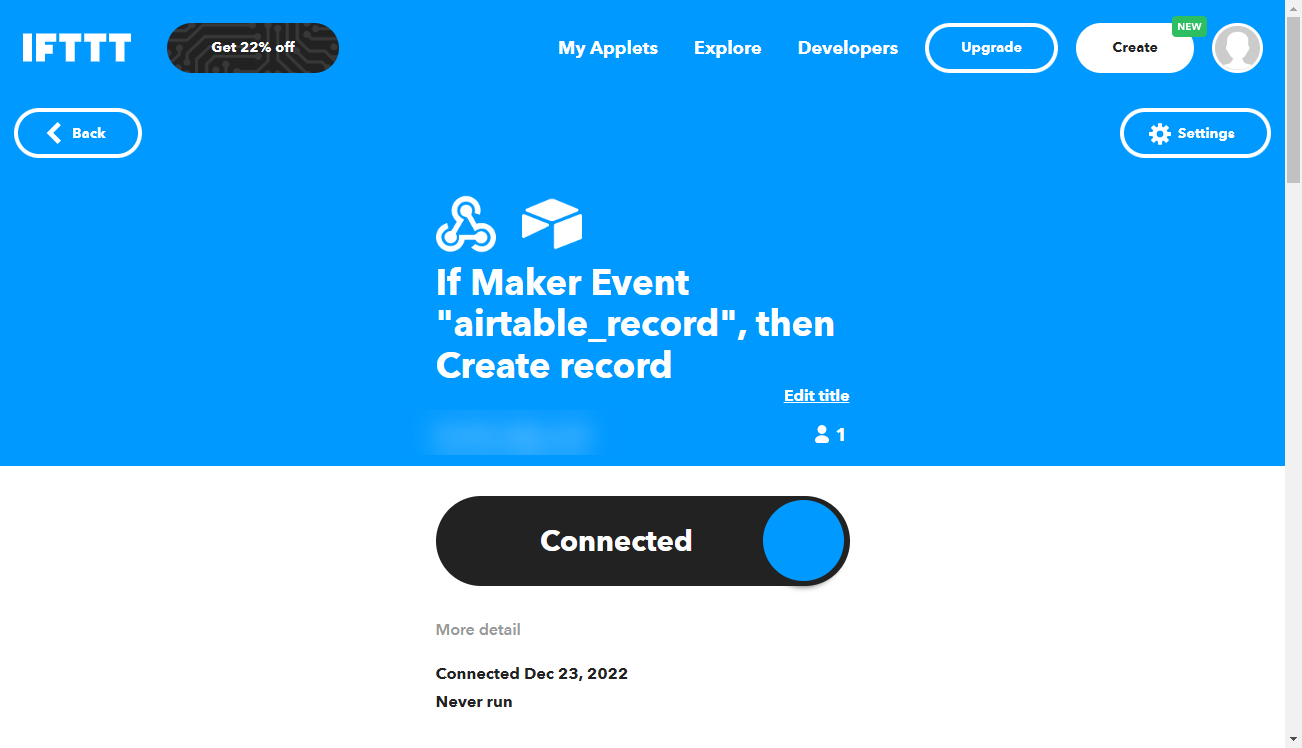
Applet が作成できました。