ほかのパーツも動かそう
ここからは、ほかのパーツも動かしていきましょう。
ボタン
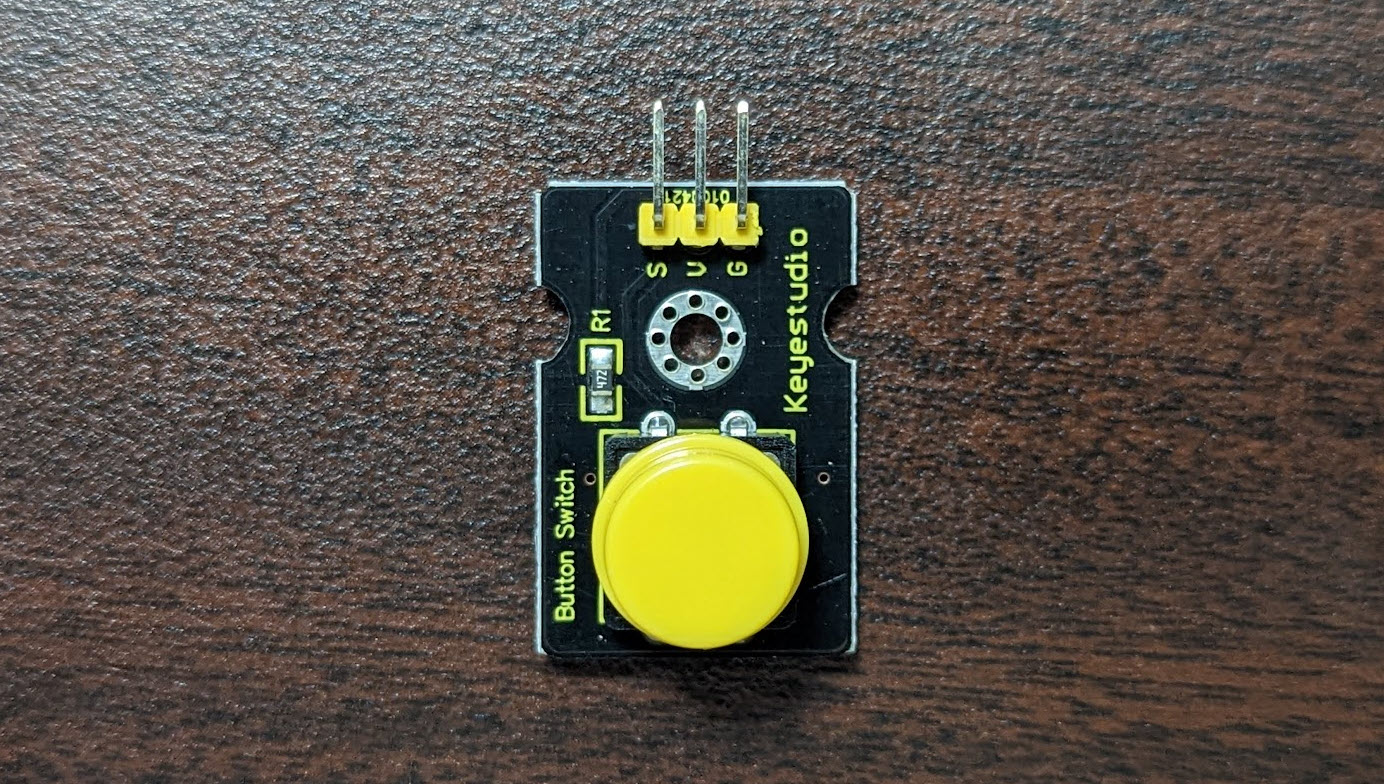
スターターキットにあるボタンを動かしてみましょう。
ドキュメントは https://obniz.com/ja/sdk/parts/Keyestudio_Button/README.md にあります。
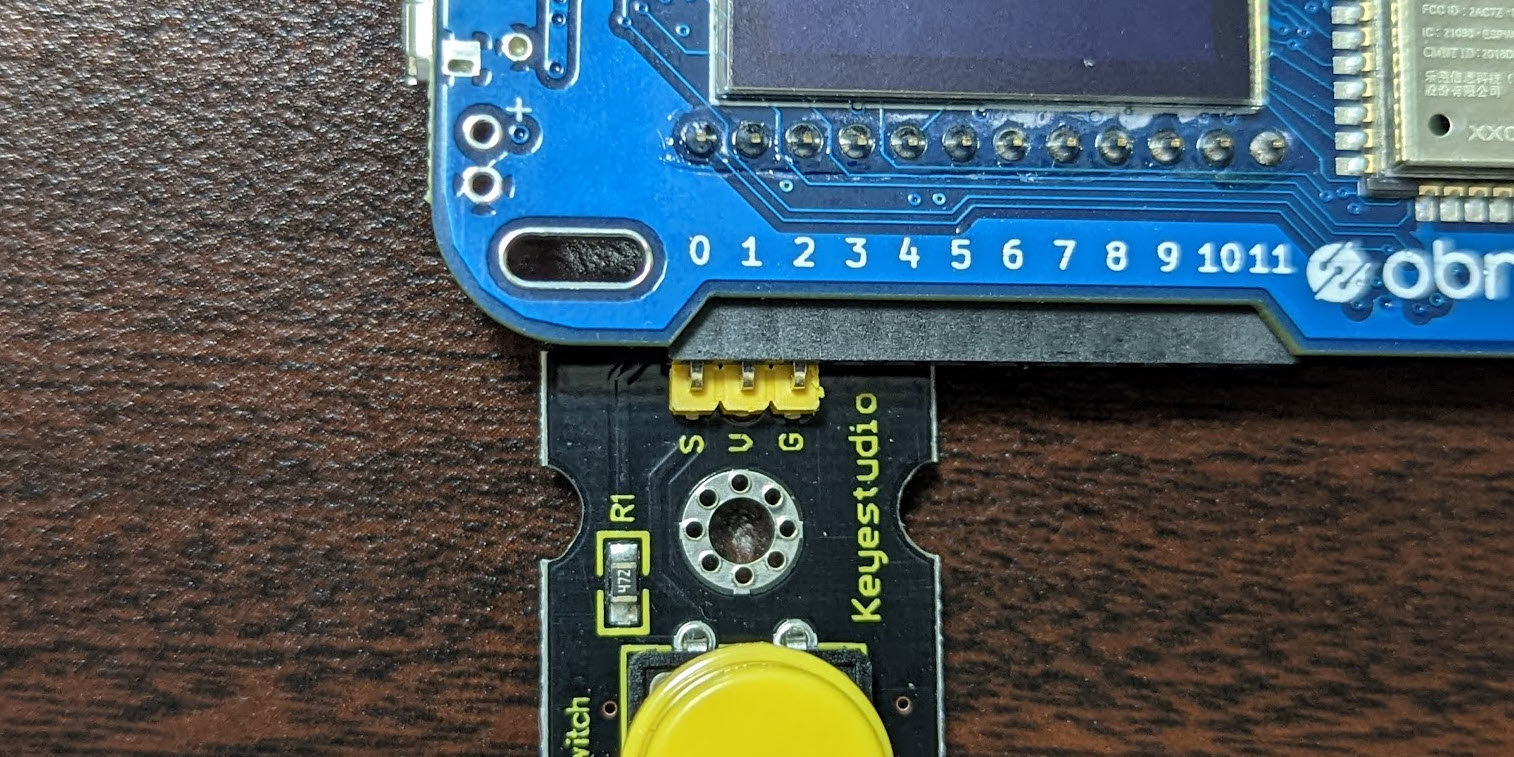
このように S の刻印を 0 番ピン穴に合わせて挿しこみます。
以下のソースコードを、以前の内容をすべて選択して消してから、エディタの内容を上書きします。
<html>
  <head>
    <meta charset="utf-8">
    <meta name="viewport" content="width=device-width, initial-scale=1">
    <link rel="stylesheet" href="https://stackpath.bootstrapcdn.com/bootstrap/4.3.1/css/bootstrap.min.css">
    <script src="https://obniz.io/js/jquery-3.2.1.min.js"></script>
    <script src="https://unpkg.com/obniz@3.24.0/obniz.js" crossorigin="anonymous"></script>
  </head>
  <body>
    <h1>Button</h1>

    <div id="obniz-debug"></div>

    <script>

      // 今回の obniz を指示するための設定
      const obniz = new Obniz("OBNIZ_ID_HERE");

      // 接続後、ボタンの状態を常時取得
      obniz.onconnect = async function () {
        obniz.display.clear();
        obniz.display.print("[Button]");
        // ボタンの呼び出し
        var button = obniz.wired("Keyestudio_Button", {signal:0, vcc:1, gnd:2});
        // 押されたかどうかを検知
        button.onchange = function(pressed){
          console.log("pressed:" + pressed);
          if(pressed){
            obniz.display.clear();
            obniz.display.print("--");
          } else {
            obniz.display.clear();
            obniz.display.print("pressed!");
          }
        };
      }

    </script>
  </body>
</html>
今回のプログラムを実行してみましょう。
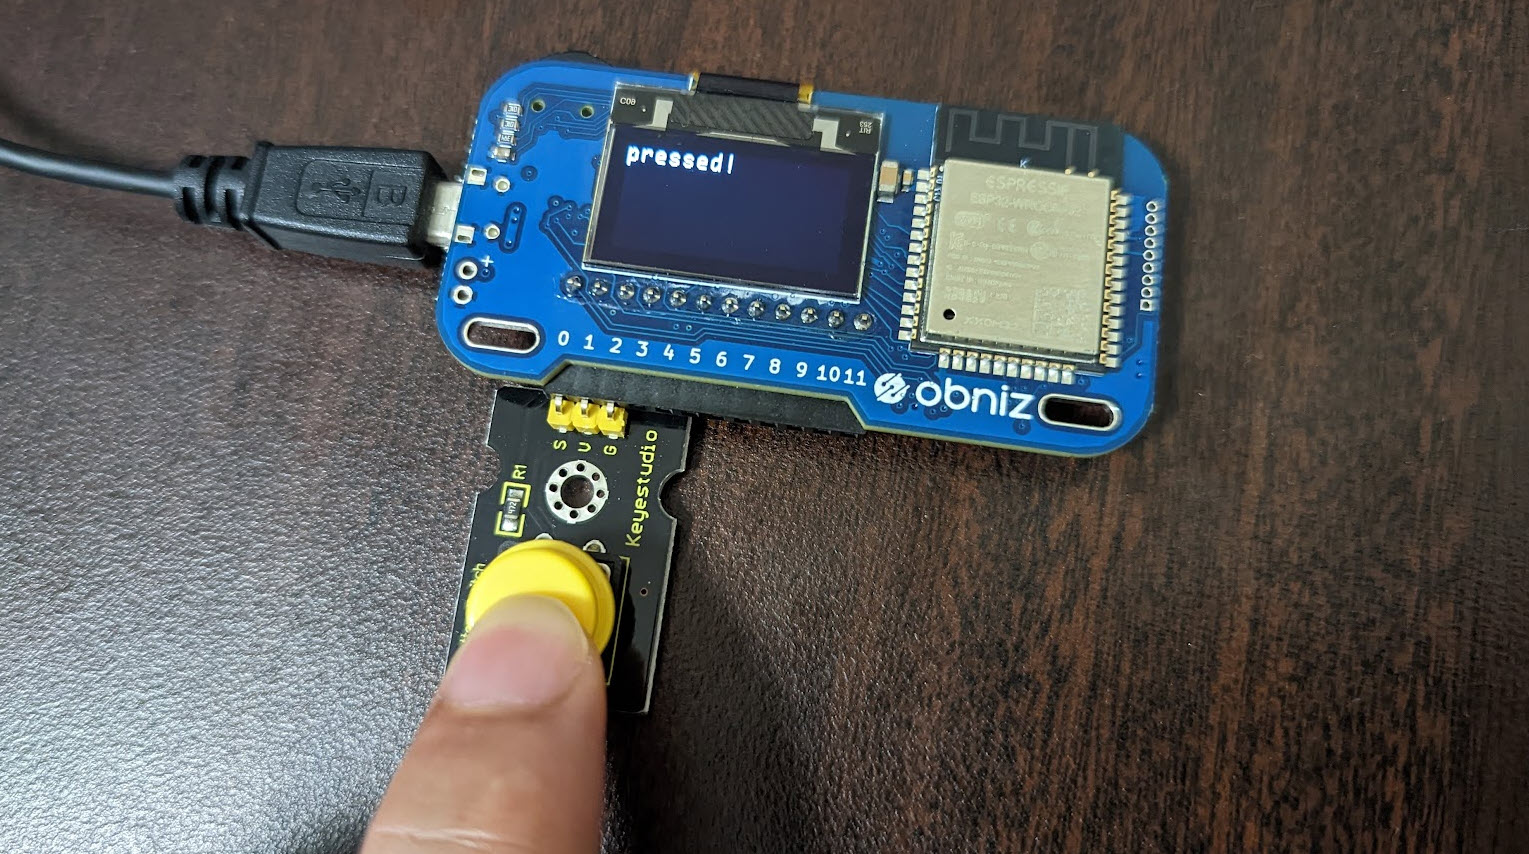
このようにボタンが押されると pressed! と反応します。ボタンの仕組みは押した感じも気持ちよくとても良いのですが、やや内蔵スイッチと役割が重なります。
右上の終了ボタンをクリックします。
終了をすると obniz が処理待ちに戻ります。
ブザー

※注意!めちゃくちゃ音が出ます!
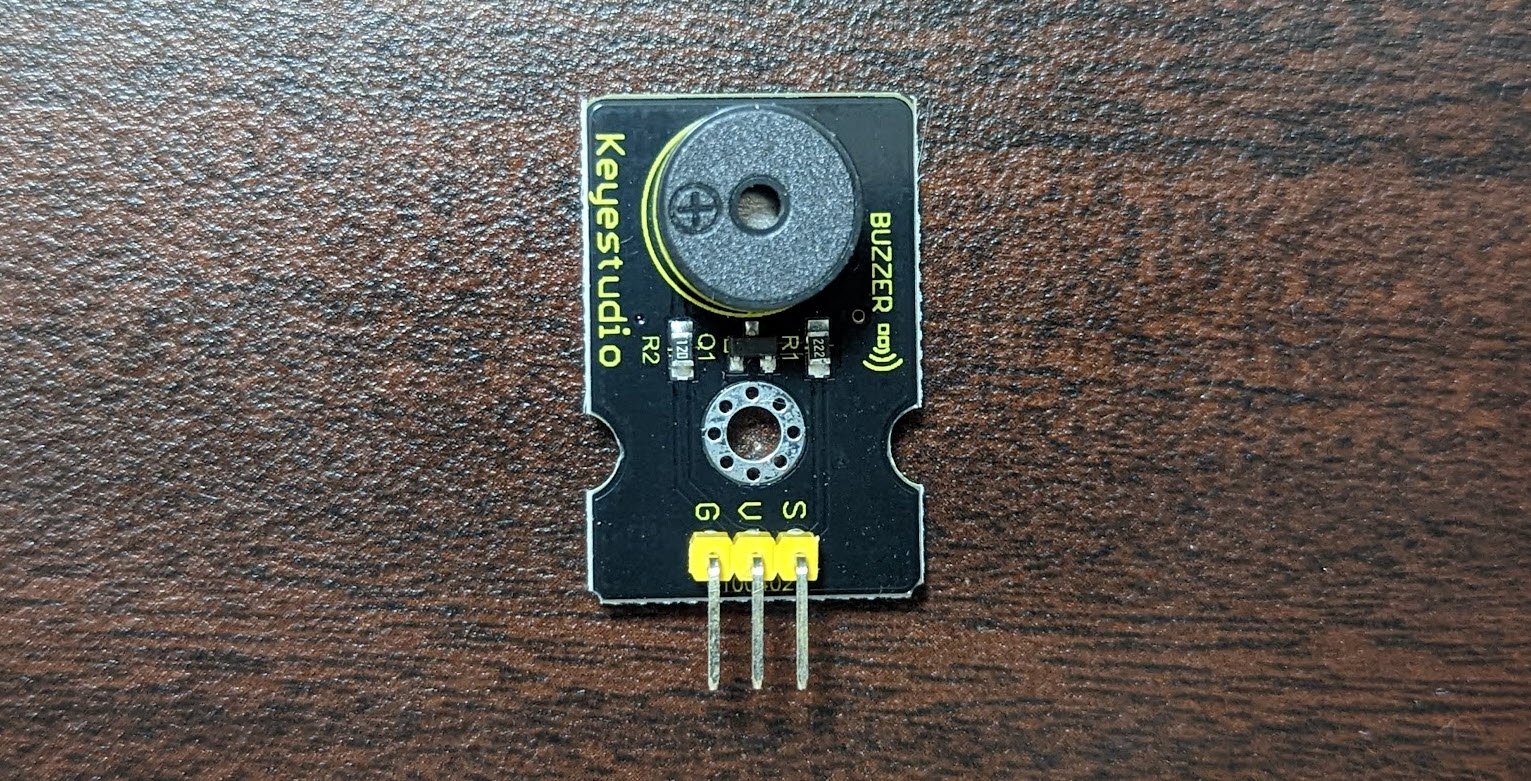
スターターキットにあるボタンを動かしてみましょう。
ドキュメントは https://obniz.com/ja/sdk/parts/Keyestudio_Buzzer/README.md にあります。
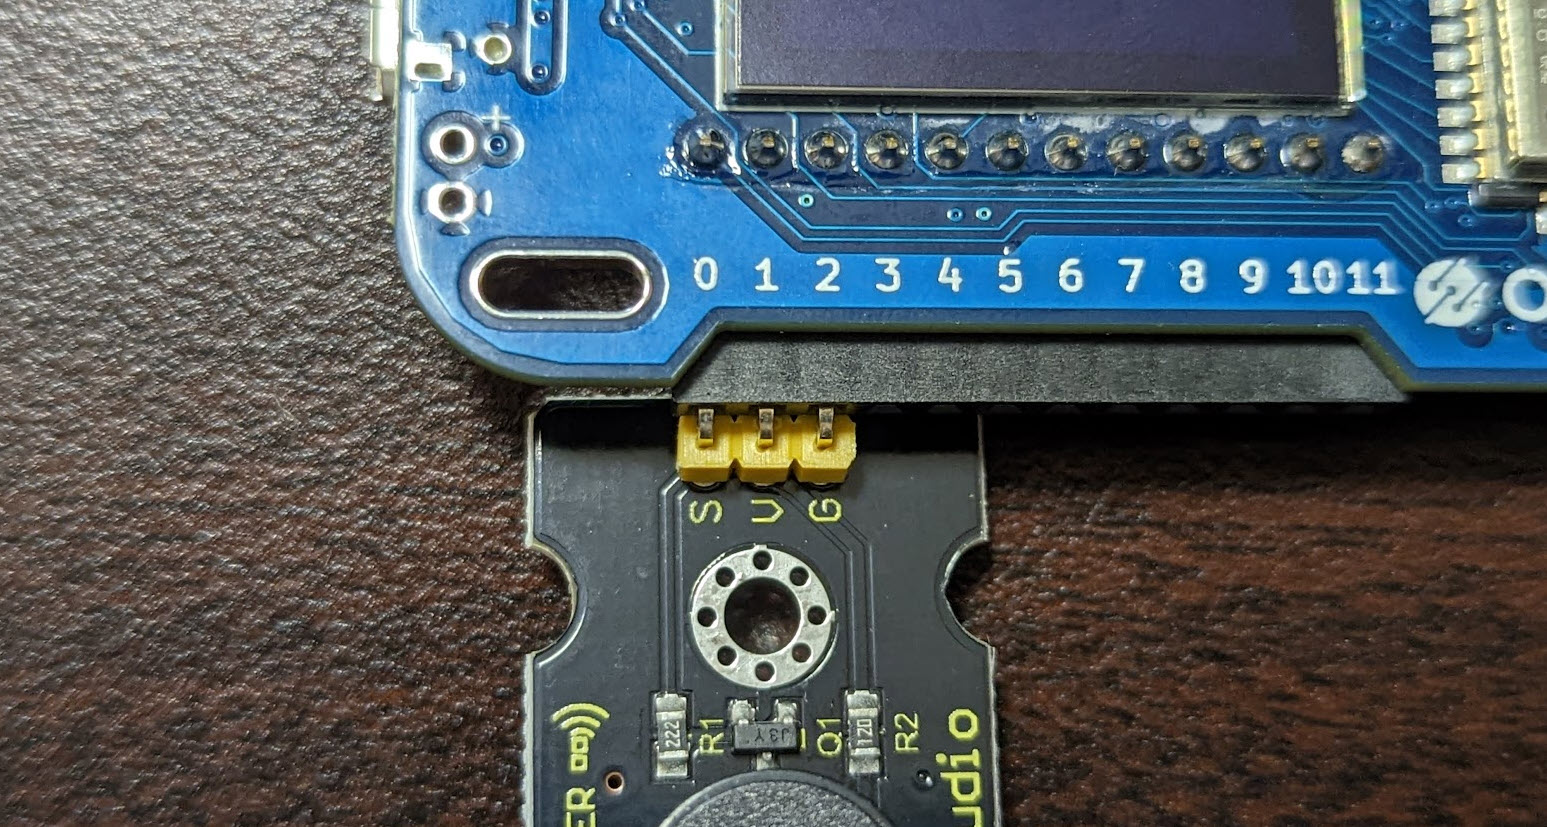
このように S の刻印を 0 番ピン穴に合わせて挿しこみます。
以下のソースコードを、以前の内容をすべて選択して消してから、エディタの内容を上書きします。
<html>
  <head>
    <meta charset="utf-8">
    <meta name="viewport" content="width=device-width, initial-scale=1">
    <link rel="stylesheet" href="https://stackpath.bootstrapcdn.com/bootstrap/4.3.1/css/bootstrap.min.css">
    <script src="https://obniz.io/js/jquery-3.2.1.min.js"></script>
    <script src="https://unpkg.com/obniz@3.24.0/obniz.js" crossorigin="anonymous"></script>
  </head>
  <body>
    <h1>Buzzer</h1>

    <div id="obniz-debug"></div>

    <script>

      // 今回の obniz を指示するための設定
      const obniz = new Obniz("OBNIZ_ID_HERE");

      // 接続後、ブザーを鳴らす
      obniz.onconnect = async function () {
        obniz.display.clear();
        obniz.display.print("[Buzzer]");
        // ブザーの呼び出し
        var speaker = obniz.wired("Keyestudio_Buzzer", {signal:0, vcc:1, gnd:2});
        // 音を鳴らす
        speaker.play(1000) // 1000 Hz
        // 待ち
        await obniz.wait(1000);
        // 音を止める
        speaker.stop();
      }

    </script>
  </body>
</html>
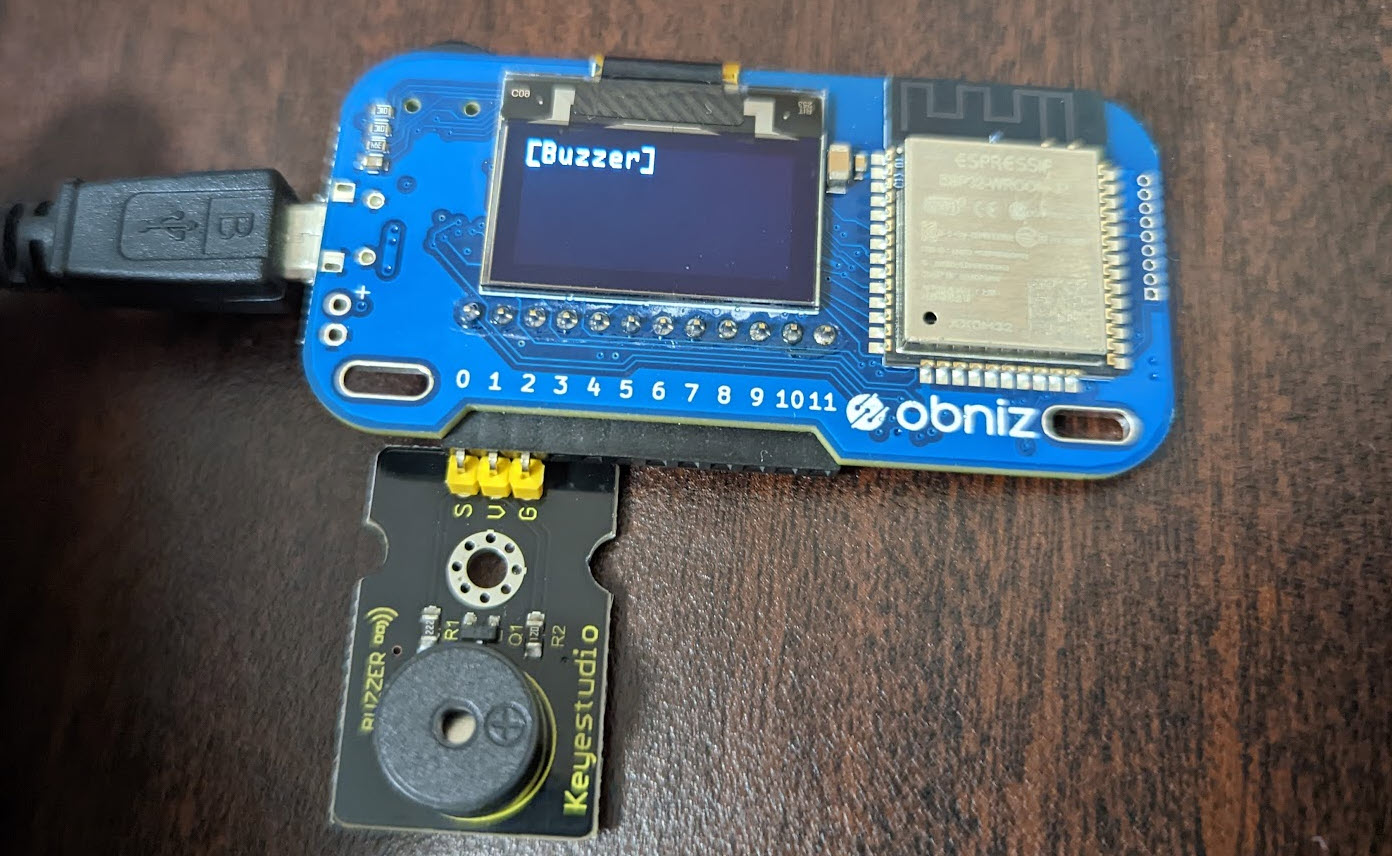
ブザー音 1000 Hz の音が鳴ります。結構うるさいです。
ドレミを奏でる

ドレミと周波数の関係は https://inalesson.com/frequency_list/2417/ が参考になります。
以下のソースコードを、以前の内容をすべて選択して消してから、エディタの内容を上書きします。
<html>
  <head>
    <meta charset="utf-8">
    <meta name="viewport" content="width=device-width, initial-scale=1">
    <link rel="stylesheet" href="https://stackpath.bootstrapcdn.com/bootstrap/4.3.1/css/bootstrap.min.css">
    <script src="https://obniz.io/js/jquery-3.2.1.min.js"></script>
    <script src="https://unpkg.com/obniz@3.24.0/obniz.js" crossorigin="anonymous"></script>
  </head>
  <body>
    <h1>Buzzer</h1>

    <div id="obniz-debug"></div>

    <script>

      // 今回の obniz を指示するための設定
      const obniz = new Obniz("OBNIZ_ID_HERE");

      // 接続後、ドレミを鳴らす
      obniz.onconnect = async function () {
        obniz.display.clear();
        obniz.display.print("[Buzzer]");
        // ブザーの呼び出し
        var speaker = obniz.wired("Keyestudio_Buzzer", {signal:0, vcc:1, gnd:2});
        // 音を鳴らす
        speaker.play(261); // ド
        // 待ち
        await obniz.wait(1000);
        // 音を鳴らす
        speaker.play(293); // レ
        // 待ち
        await obniz.wait(1000);
        // 音を鳴らす
        speaker.play(329); // ミ
        // 待ち
        await obniz.wait(1000);
        // 音を鳴らす
        speaker.play(349); // ファ
        // 待ち
        await obniz.wait(1000);
        // 音を鳴らす
        speaker.play(391); // ソ
        // 待ち
        await obniz.wait(1000);
        // 音を止める
        speaker.stop();
      }

    </script>
  </body>
</html>
今回のプログラムを実行してみましょう。ドーレーミーファーソーを奏でてくれます。
右上の終了ボタンをクリックします。
終了をすると obniz が処理待ちに戻ります。
LED マトリックス
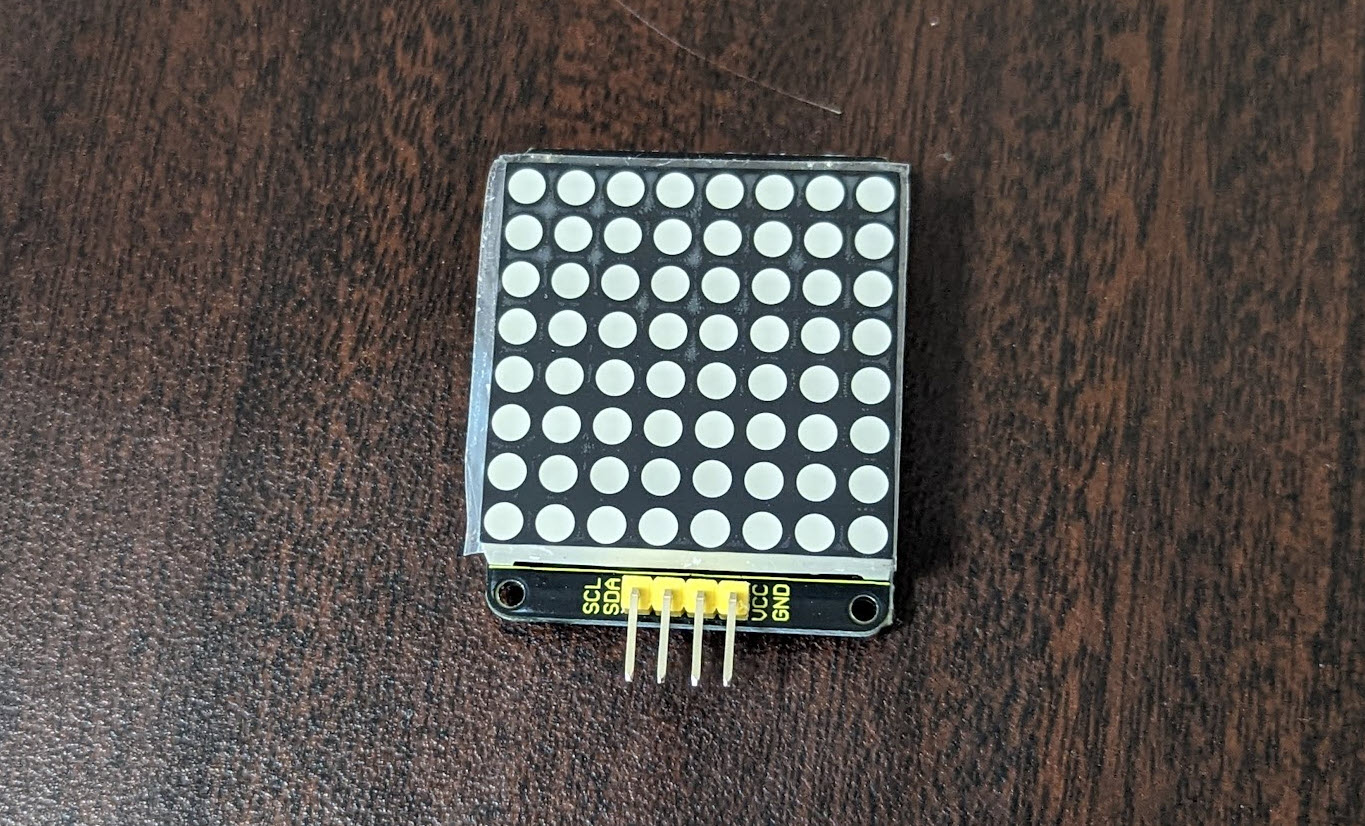
スターターキットにあるLED マトリックスを動かしてみましょう。
ドキュメントは https://obniz.com/ja/sdk/parts/Keyestudio_HT16K33/README.md にあります。
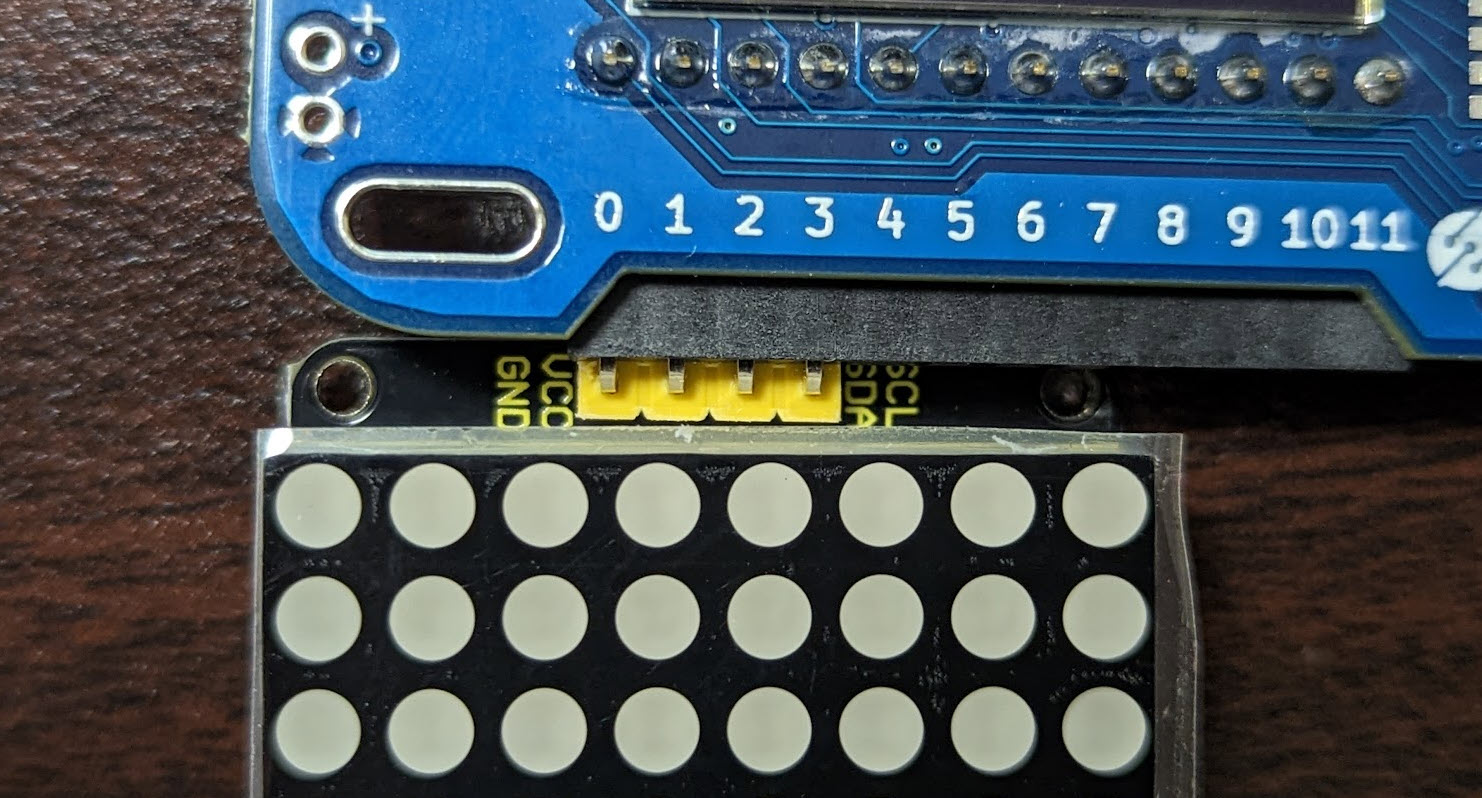
このように GND を 0 番ピン穴に合わせて挿しこみます。
以下のソースコードを、以前の内容をすべて選択して消してから、エディタの内容を上書きします。
<html>
  <head>
    <meta charset="utf-8">
    <meta name="viewport" content="width=device-width, initial-scale=1">
    <link rel="stylesheet" href="https://stackpath.bootstrapcdn.com/bootstrap/4.3.1/css/bootstrap.min.css">
    <script src="https://obniz.io/js/jquery-3.2.1.min.js"></script>
    <script src="https://unpkg.com/obniz@3.24.0/obniz.js" crossorigin="anonymous"></script>
  </head>
  <body>
    <h1>LED Matrix</h1>

    <div id="obniz-debug"></div>

    <script>

      // 今回の obniz を指示するための設定
      const obniz = new Obniz("OBNIZ_ID_HERE");

      // 接続後、LED Matrix でメッセージを表示
      obniz.onconnect = async function () {
        console.log("[LED Matrix]");
        // ディスプレイ表示
        obniz.display.clear();
        obniz.display.print("[LED Matrix]");
        // Hello World
        const matrix = obniz.wired("Keyestudio_HT16K33", { gnd:0, vcc:1, sda:2, scl:3 });
        matrix.brightness(7);

        const ctx = obniz.util.createCanvasContext(matrix.width, matrix.height);
        ctx.fillStyle = "black";
        ctx.fillRect(0, 0, matrix.width, matrix.height);
        ctx.fillStyle = "white";
        ctx.font = "8px Arial";
        ctx.fillText('10', 0, 7);
        console.log("OK!");

        matrix.draw(ctx);
      }

    </script>
  </body>
</html>
今回のプログラムを実行してみましょう。
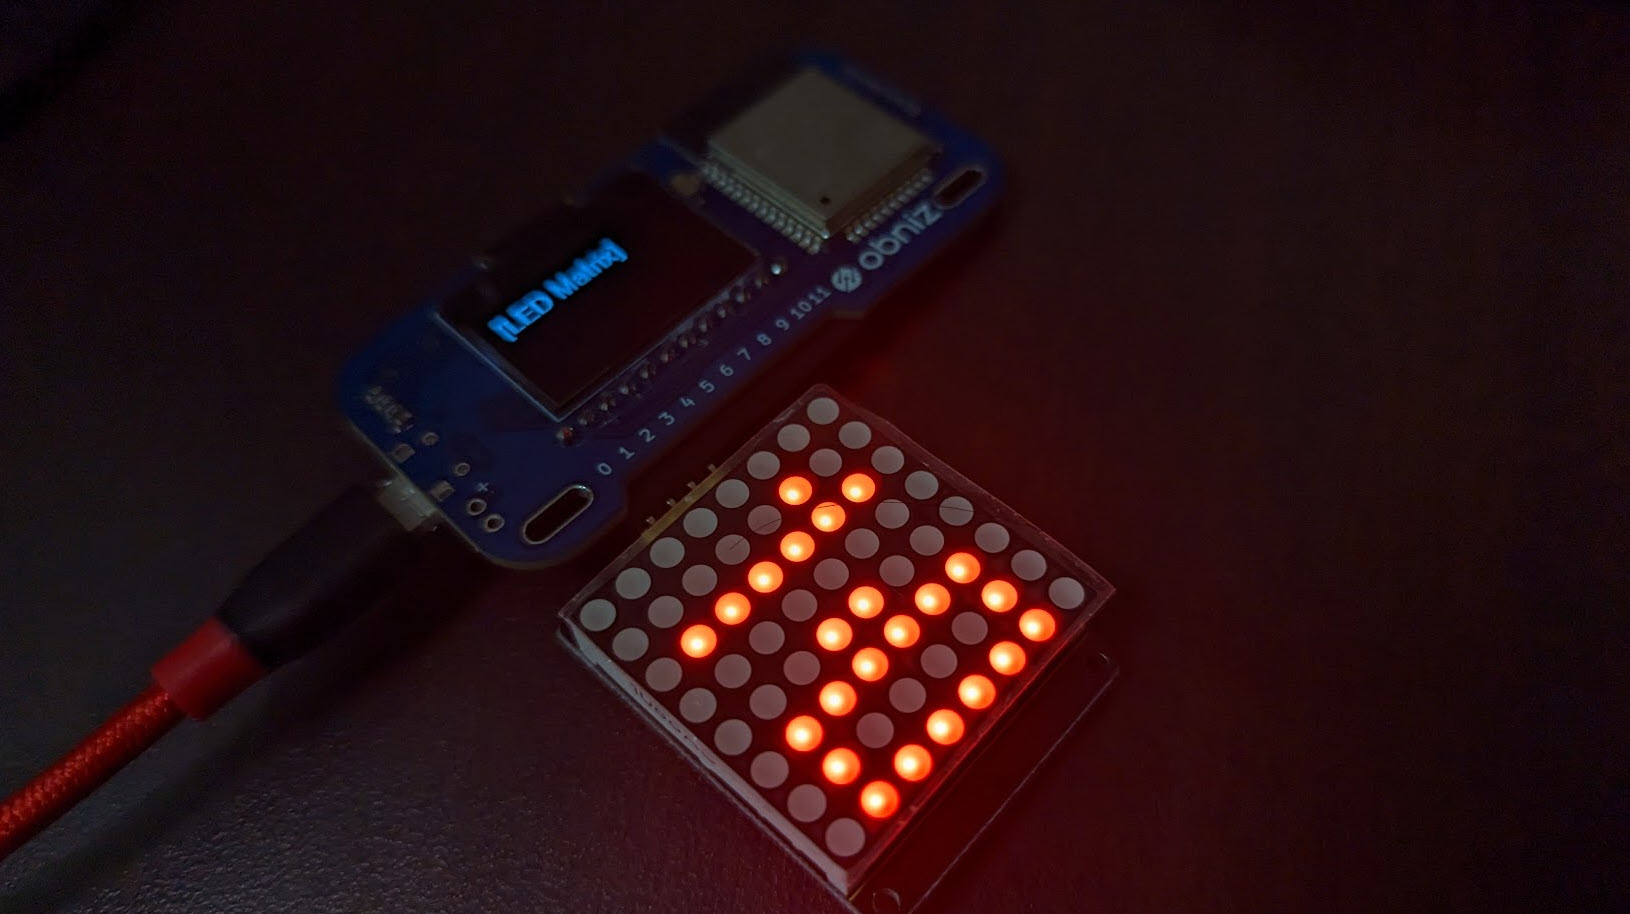
このように 10 という文字が表示されます。ただ https://obniz.com/ja/sdk/parts/Keyestudio_HT16K33/README.md にあるように、一度ブラウザ上で画像化したものを LED Matrix に転写する形なので、表示がつぶれてしまったり、思うように出なかったりするので表示のコントロールはが悩ましいです。
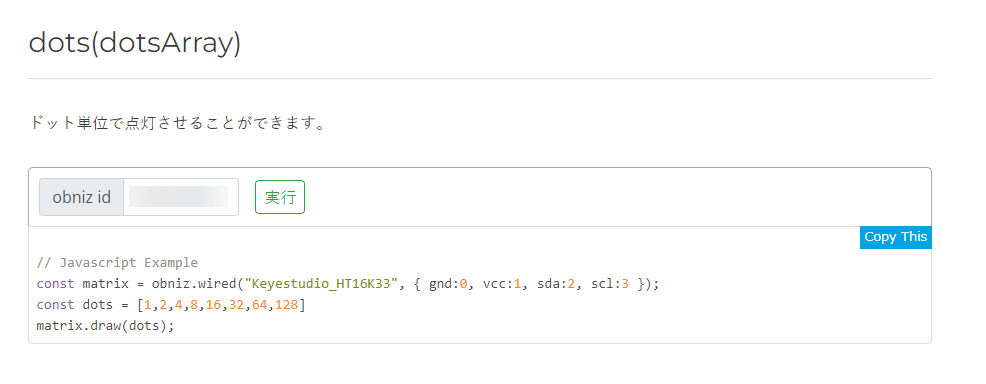
ちゃんと表示したいならドット単位で点灯させることができる dots(dotsArray) もアリです。このように、ちょっと設定が大変ですが。
右上の終了ボタンをクリックします。
終了をすると obniz が処理待ちに戻ります。
温度センサー
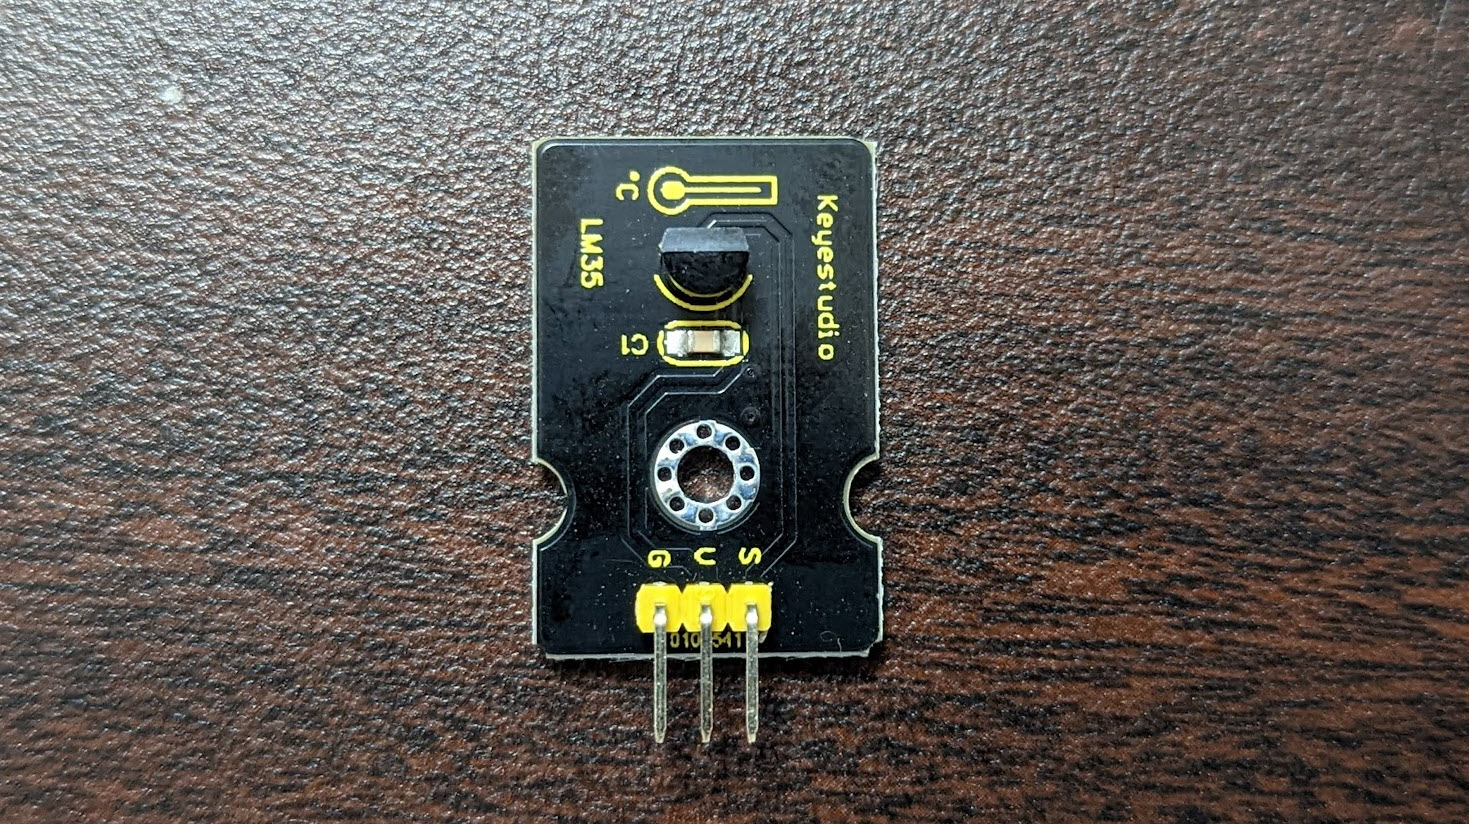
スターターキットにある温度センサーから温度を取得してみましょう。
ドキュメントは https://obniz.com/ja/sdk/parts/Keyestudio_TemperatureSensor/README.md です。
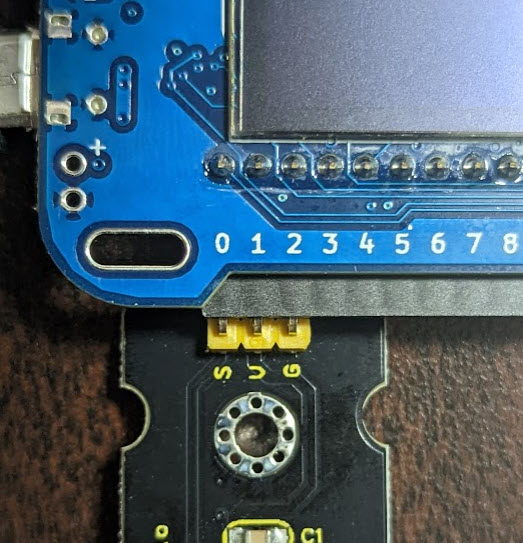
このように S の刻印を 0 番ピン穴に合わせて挿しこみます。
<html>
<head>
<meta charset="utf-8">
<meta name="viewport" content="width=device-width, initial-scale=1">
<link rel="stylesheet" href="https://stackpath.bootstrapcdn.com/bootstrap/4.3.1/css/bootstrap.min.css">
<script src="https://obniz.io/js/jquery-3.2.1.min.js"></script>
<script src="https://unpkg.com/obniz@3.24.0/obniz.js" crossorigin="anonymous"></script>
</head>
<body>
<h1>temperature</h1>
<div id="obniz-debug"></div>
<script>
// 今回の obniz を指示するための設定
const obniz = new Obniz("OBNIZ_ID_HERE");
// 接続後、1 秒ごとに温度計測
obniz.onconnect = async function () {
console.log("[temperature]");
// ディスプレイ表示
obniz.display.clear();
obniz.display.print("[temperature]");
const tempsens = obniz.wired("Keyestudio_TemperatureSensor", {signal:0, vcc:1, gnd:2});
// 温度を保存する変数
let currentTemp = 0;
tempsens.onchange = function(temp){
// 温度取得
// すごい頻度で更新されるので記録だけ
currentTemp = temp;
};
// 1秒ごとチェック
obniz.onloop = async function () {
// 小数点切り捨て
let temp = Math.floor(currentTemp);
// 必要であれば、値調整(キャリブレーション)する
// うちでは +5 度だが場所やセンサーそのものの温度によって変わる
temp = temp + 5;
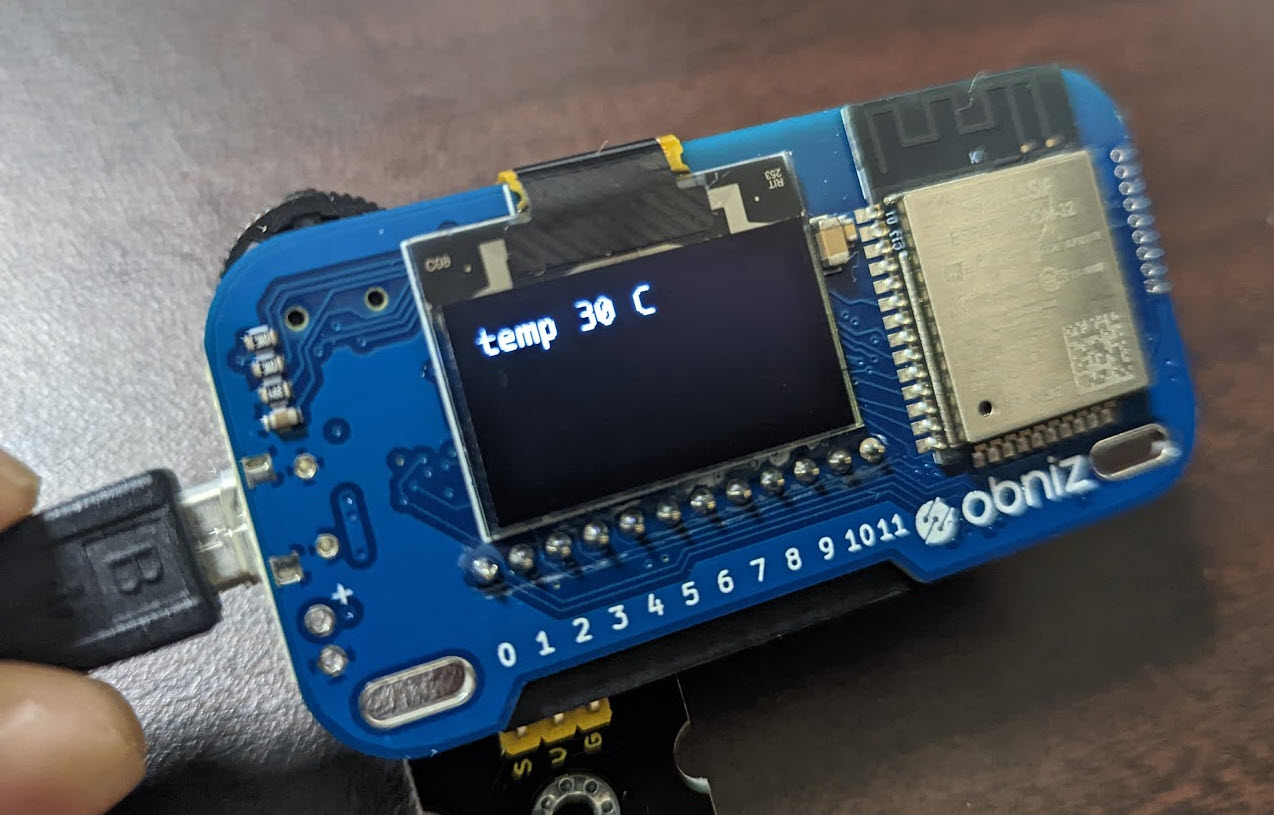
// ディスプレイ表示
obniz.display.clear();
obniz.display.print(`temp ${temp} C`);
// 1秒ごと待つ
await obniz.wait(1000);
}
}
</script>
</body>
</html>
onchange で温度が変化するたびに取得できるのですが、頻度が高くデバイスに負荷をかけるので、内部的に記録するだけにしています。表示については、繰り返し処理 onloop を利用して、1秒ごとに計測しています。
          // 必要であれば、値調整(キャリブレーション)する
          // うちでは +5 度だが場所やセンサーそのものの温度によって変わる
          temp = temp + 5;
センサーは、そのまま現在の温度を出力しない場合があるので、必要であれば、値調整(キャリブレーション)しましょう。計測値で別の温度計があれば、それを見比べてこのように調整をかけましょう。
温度センサーは場所やセンサーそのものの温度によって変わるため、扱いが結構難しいです。
右上の終了ボタンをクリックします。
終了をすると obniz が処理待ちに戻ります。