Auth 機能の追加
Amplify 認証機能を加えてみましょう。
Tutorial - Add authentication - Vue - AWS Amplify Docs https://docs.amplify.aws/start/getting-started/auth/q/integration/vue/
こちらの文献を参考にして進めます。
Auth 機能の追加
amplify add auth
コマンドを実行します。
Do you want to use the default authentication and security configuration? (Use arrow keys)
Default configuration を選択して Enter キーを押します。
Warning: you will not be able to edit these selections.
How do you want users to be able to sign in?
Username を選択して Enter キーを押します。
Do you want to configure advanced settings?
No, I am done. を選択して Enter キーを押します。
amplify push
手元で設定ができたのでクラウドの Amplify に反映します。
amplify push
を実行します。
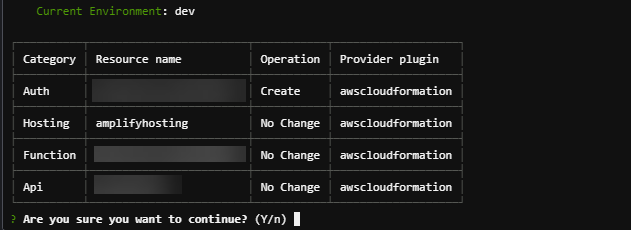
Auth が登場し Create になっていることを確認して、Are you sure you want to continue? と聞かれたら Y を入力して Enter キーを押します。
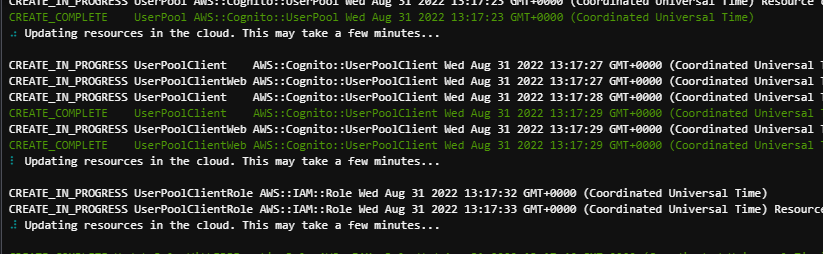
しばらく設定が進行します。
✔ All resources are updated in the cloud
となったら作成完了です。
ユーザーを設定しておく
ユーザーは Amplify コンソールの画面で設定します。
amplify console
このコマンドを実行すると、今回の Amplify のコンソール画面のページの URL を教えてくれます。
✔ Which site do you want to open?
AWS console を選択して Enter キーを押すと URL が表示されます。

URL をクリックして Open を押します。
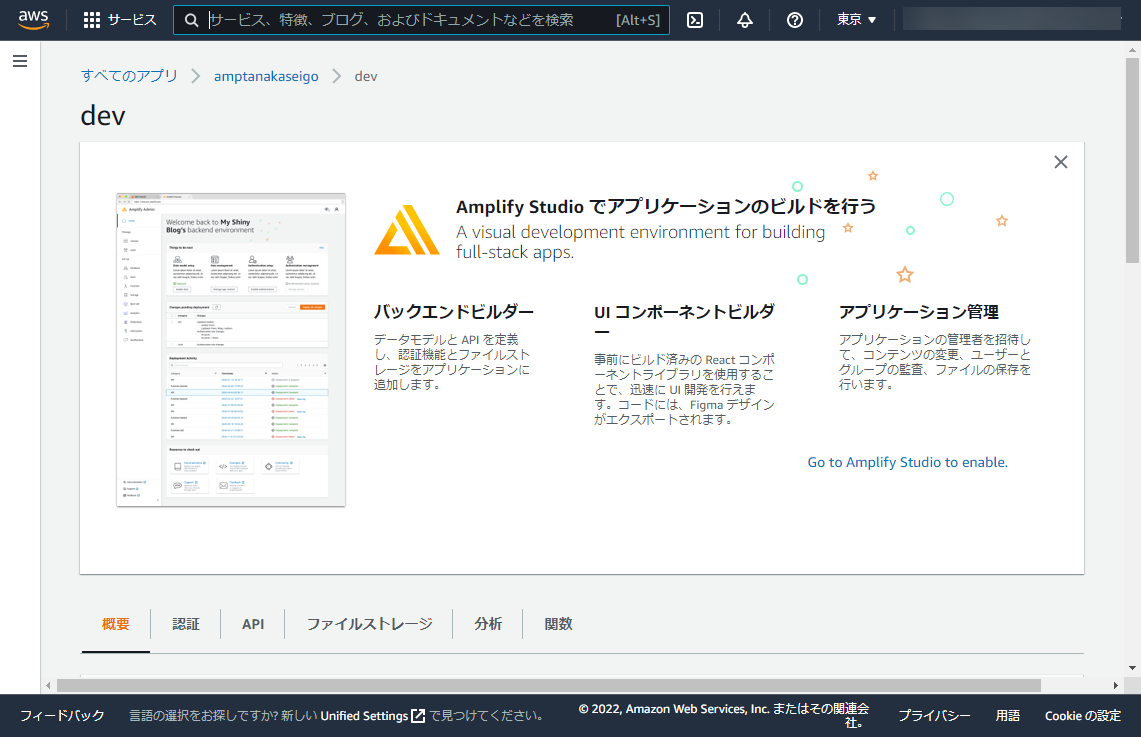
Amplify コンソールが表示されます。
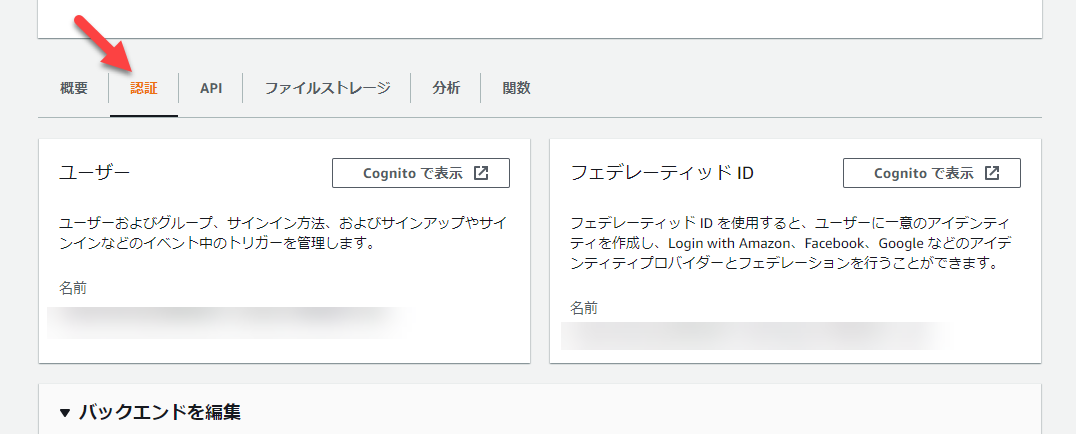
認証をクリックします。
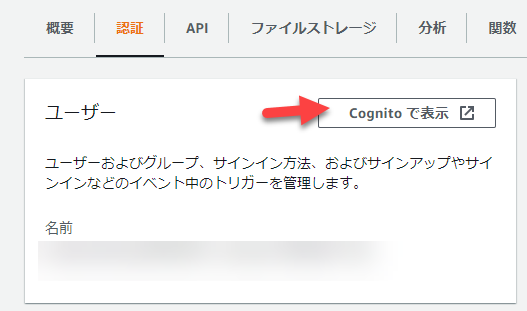
Cognito で表示をクリックします。
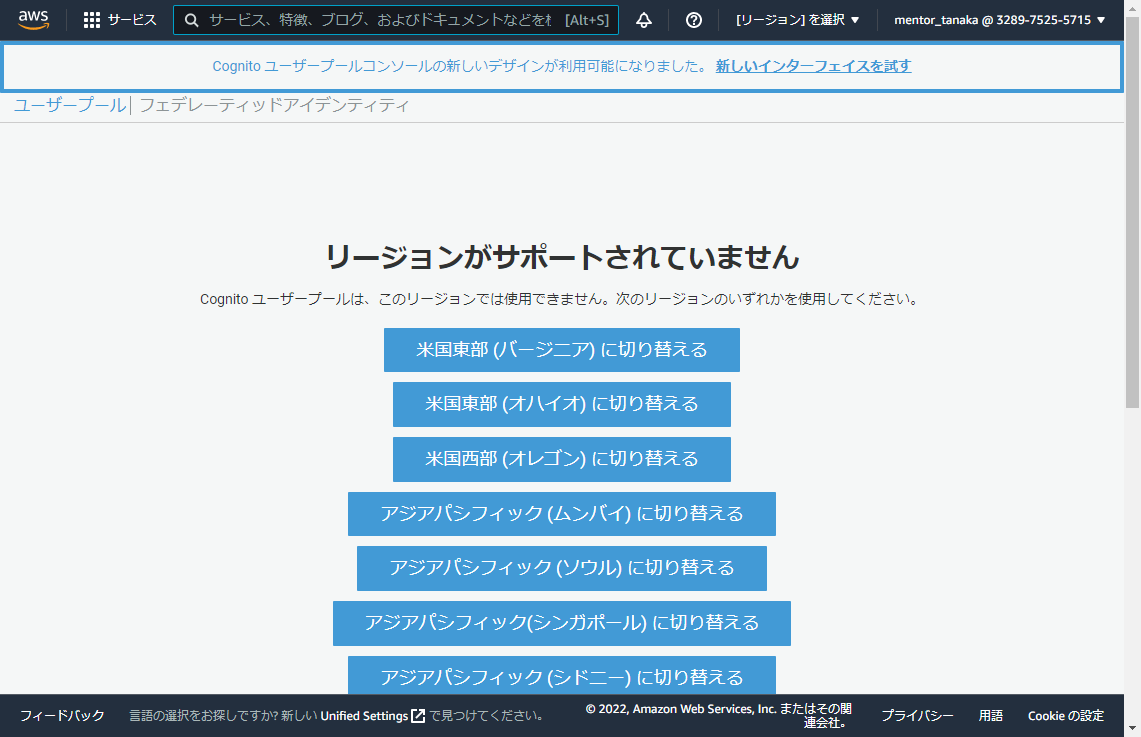
うまくリージョンが移動できない場合は、今回のリージョン 東京 を選択します。
それでも出てこない場合は、
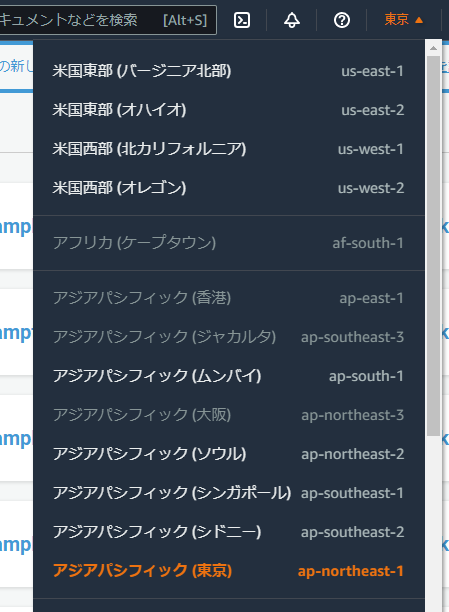
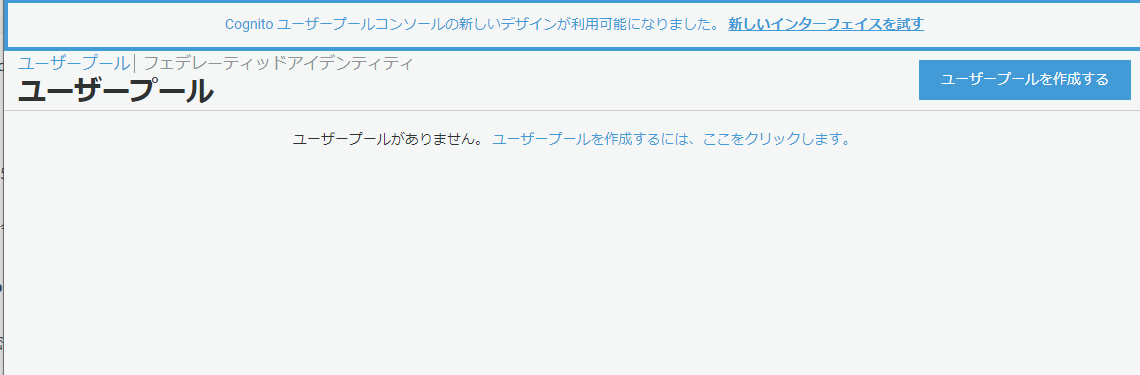
右上のリージョンから東京を選びます。この場合、一覧に戻ってしまい、今回のものが探しにくいので、再度 Amplify コンソールに戻って、
認証から Cognito で表示をクリックします。
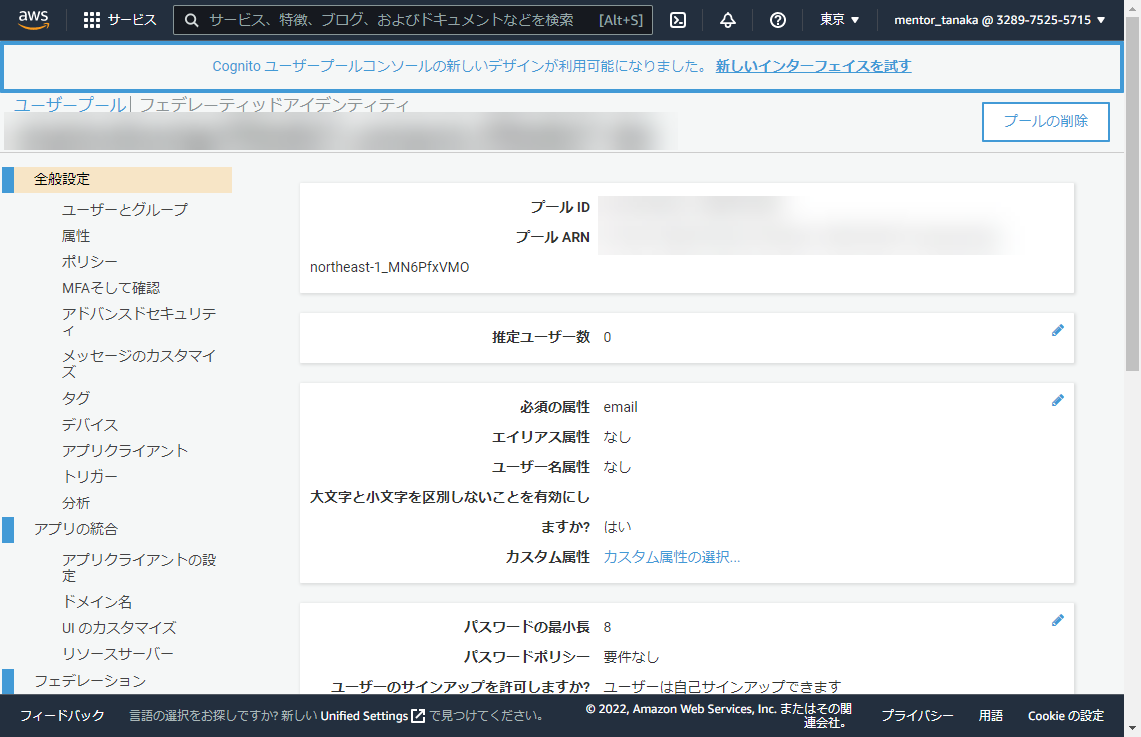
Cognito ページに移動できました。
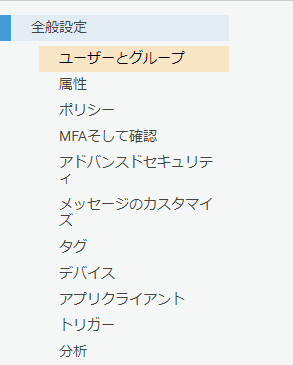
左メニューから、ユーザとグループをクリックします。
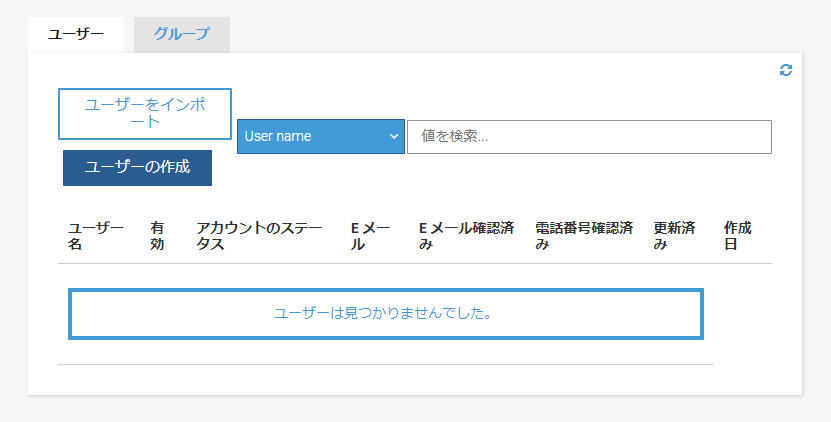
ユーザータブであることを確認して、ユーザーの作成ボタンをクリックします。
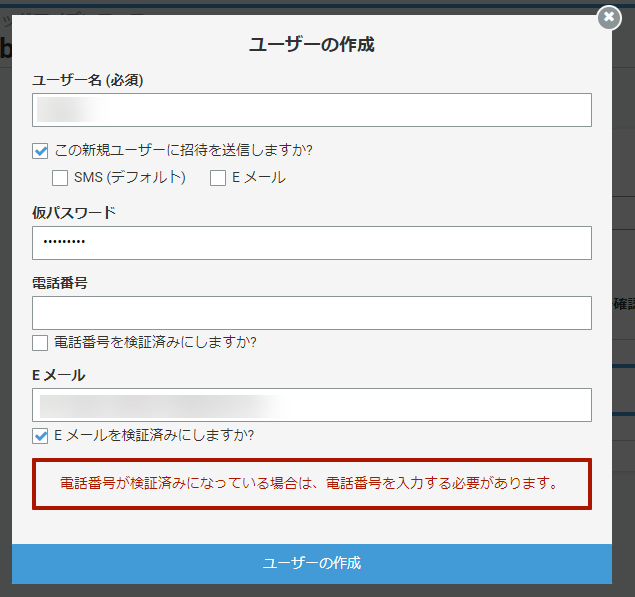
- ユーザー名
- 任意の英数字の名前
- 仮パスワード
- 任意のパスワード
- 電話番号
- 入力しない
- 電話番号を検証済みにしますか
- チェックを外す
- Eメール
- ログインで使用する E メール
設定できたら、ユーザーの作成ボタンをクリックします。
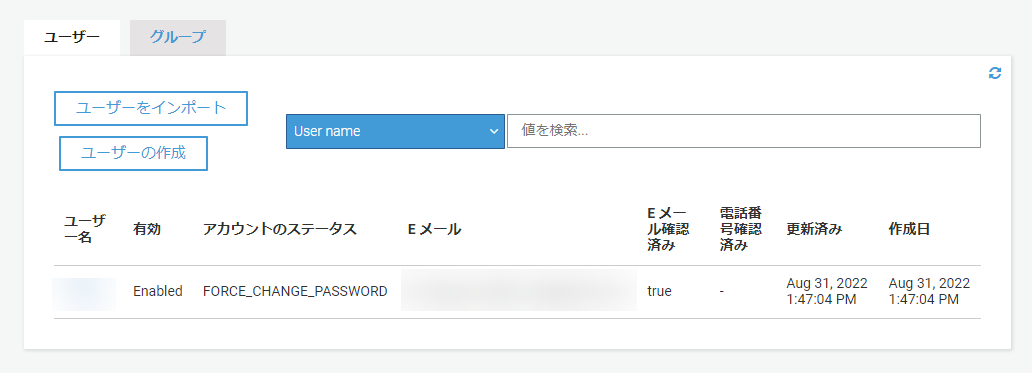
ユーザーが作られたことを確認します。ユーザー名、仮パスワード、Eメールを忘れないようにメモしておきましょう。
表示側にログイン UI をつける
ログイン UI は Amplify の仕組みととても密着しているものです。ですので Amplify Ui というモジュールで構成されています。
Amplify UI - Build UI fast with Amplify on Vue https://ui.docs.amplify.aws/?platform=vue
今回はクローン最初の npm i のインストールで、このあたりの "@aws-amplify/ui-vue も一緒に入ってるのですぐ使えます。
src/App.vue の変更
src/App.vue を以下のプログラムで上書きして保存します。
<script setup>

import '@aws-amplify/ui-vue/styles.css';
import { Authenticator, useAuthenticator } from '@aws-amplify/ui-vue';

const auth = useAuthenticator();

</script>

<template>
  <div class="container">
    <div class="row">
      <div class="col m-3 text-center">
        <h1>ログインシステム</h1>
      </div>
    </div>
    <div class="row">
      <div class="col m-3 text-center">
        <template v-if="auth.route === 'authenticated'">
          こんにちは! {{ auth.user?.username }} さん <button type="button" class="btn btn-primary" @click="auth.signOut">サインアウト</button>
        </template>
      </div>
    </div>
    <div class="row">
      <div class="col m-3">
        <authenticator hideSignUp></authenticator>
        <template v-if="auth.route === 'authenticated'">
          ログインの時に見えるエリア
        </template>
      </div>
    </div>
  </div>
</template>
手元で実行してみる
確認してみましょう。
npm run dev
で手元の開発サーバーを起動して、Preview の操作で見てみましょう。
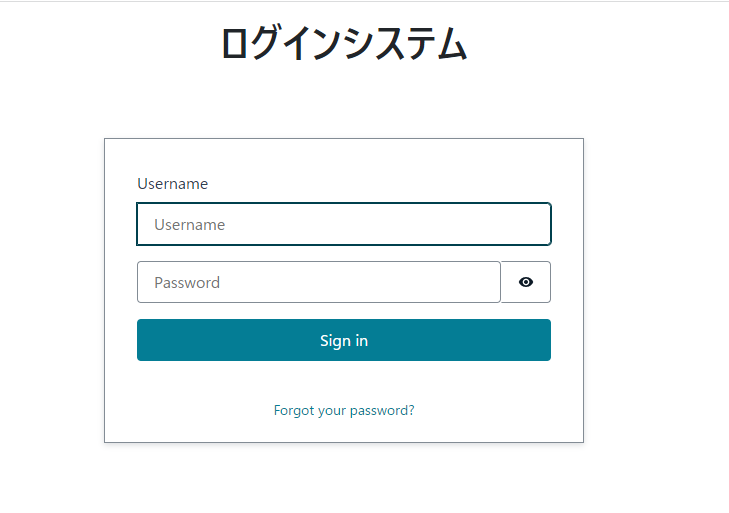
このようにログイン画面が表示されます。先ほど作ったユーザーのユーザー名と仮パスワードを入力します。(今回 E メールは必要ありません)
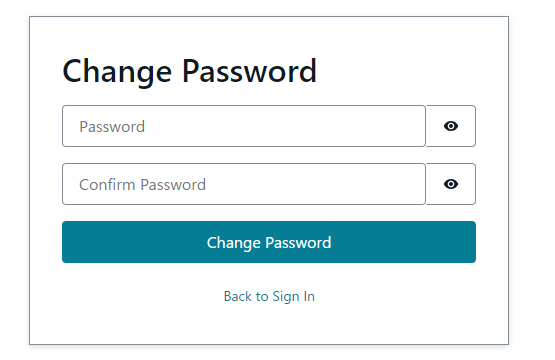
Change Password と出て、正式なパスワードを入力して Change Password ボタンをクリックします。
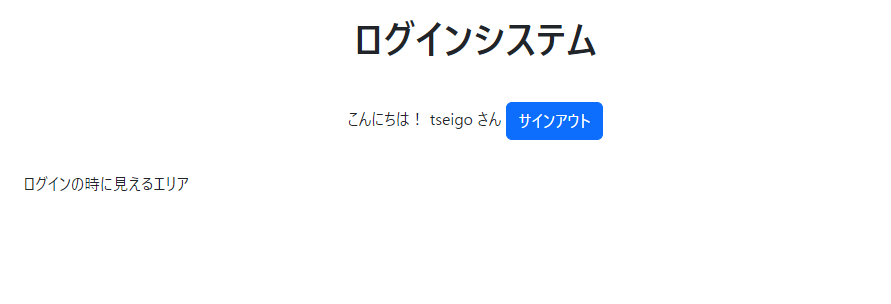
正式なパスワード設定と同時に、ログインできます。
すると、ログインの時に見えるアリアであったり、ユーザへのあいさつの部分が動作しています。このように、ログインしたユーザーにだけコンテンツを表示する仕組みもすぐに作ることができます。
新しくユーザーを作りたくなったら?
さきほどの AWS Cognito でユーザーの作成を行います。