Amplify ベースの構築
Amplify のアカウントが Cloud9 で設定できたので、今回の Amplify のベースを作成します。
参考資料
- Tutorial - Set up fullstack project - Vue - AWS Amplify Docs
Vue3 + Vite 環境の構築をします
AWS Amplify の公式チュートリアル は Vue3 ですが動作が重い Vue CLI を使っているため、ハッカソンで試行錯誤を繰り返すときに足かせになる可能性があるので、今回は Vue3 + Vite の環境で構築します。
テンプレートとなるリポジトリを使います
https://github.com/1ft-seabass/aws-amplify-vite-and-vue3-my-template
こちらのリポジトリを使います。
- Vite による Vue3 用のテンプレート作成
- package.json の修正
- src/main.js への Amplify 対応
- index.html への Amplify 対応
- vite.config.js への Amplify と Cloud9 対応
を行っています。詳しくは上記 README にも書いてあります。今回は、Vite + Vue の理解を深めるというより、なるべくすばやく Amplify を体験するという意図を大事にしているので、テンプレートとしてまとめてありますが、気になる方は見てみてください。
テンプレートとなるリポジトリをクローンします
git clone https://github.com/1ft-seabass/aws-amplify-vite-and-vue3-my-template.git
このコマンドを実行します。
Cloning into 'aws-amplify-vite-and-vue3-my-template'...
remote: Enumerating objects: 36, done.
remote: Counting objects: 100% (36/36), done.
remote: Compressing objects: 100% (22/22), done.
remote: Total 36 (delta 10), reused 30 (delta 8), pack-reused 0
Receiving objects: 100% (36/36), 7.61 KiB | 1.52 MiB/s, done.
Resolving deltas: 100% (10/10), done.
フォルダの移動
cd aws-amplify-vite-and-vue3-my-template
このコマンドを実行して、作業するフォルダをクローンされた aws-amplify-vite-and-vue3-my-template フォルダに移動します。
<みなさんそれぞれのユーザー名>:~/environment/aws-amplify-vite-and-vue3-my-template (master) $
ターミナルでこのように、カレントディレクトリが ~/environment/aws-amplify-vite-and-vue3-my-template となっていることを確認して進めましょう。
npm インストール
npm i
このコマンドを実行します。現在の環境のモジュール一式をインストールします。
Amplify 環境の初期設定
まず自分の環境の名前(英数字)を思い出す
このあと、みなさん、それぞれの環境で Amplify を作成します。
まず自分の環境の名前(英数字)を思い出しましょう。
私の場合は tanakaseigo としました。
このあとこれを自分の環境の名前として使っていきましょう。
設定開始
amplify init
このコマンドを実行します。対話式でコマンドが進みます。
? Enter a name for the project (awsamplifyviteandvue)
プロジェクトの名前を決めます。
みなさん、それぞれの名前が区別つくように amp<自分の環境の名前(英数字)> と入力して Enter キーを押します。
なお、環境名は 3 ~ 20 文字の英数字で決めるものなので、うまく収まるようにしましょう。ハイフンやアンダーバーは使えません。
? Enter a name for the project amptanakaseigo
The following configuration will be applied:

Project information
| Name: amptanakaseigo
| Environment: dev
| Default editor: Visual Studio Code
| App type: javascript
| Javascript framework: vue
| Source Directory Path: src
| Distribution Directory Path: dist
| Build Command: npm run-script build
| Start Command: npm run-script serve
作成すると、自動で Vue の環境を認識して色々と設定してくれます。
Initialize the project with the above configuration? (Y/n)
上記の構成でプロジェクトを初期化しますと聞かれるので Yes で進みます。Y と入力して Enter キーをクリックします。
? Select the authentication method you want to use: (Use arrow keys)
使用する認証方法を選択します。
? Select the authentication method you want to use: (Use arrow keys)
❯ AWS profile
  AWS access keys
AWS profile を選択して Enter キーを押します。
Please choose the profile you want to use (Use arrow keys)
使用するプロファイルを選択します。
? Please choose the profile you want to use (Use arrow keys)
❯ default
これは、 aws configure のときに、設定した default という名前のプロファイルを使うので、 default を選択して Enter キーを押します。
環境作成中
すると、Amplify 環境が作成されます。
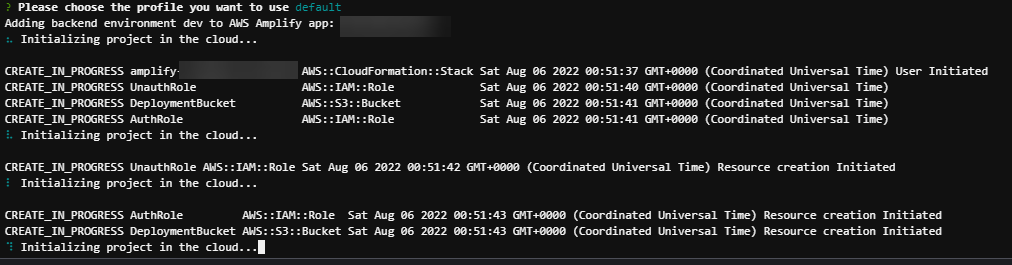
しばらく待ちましょう。
Help improve Amplify CLI by sharing non sensitive configurations on failures (y/N)
途中で出てきます。
No で進みます。N と入力すると、Enter キー操作はしなくても No と認識して先に進みます。
作成完了
✔ Initialized provider successfully.
✅ Initialized your environment successfully.

Your project has been successfully initialized and connected to the cloud!

Some next steps:
"amplify status" will show you what you've added already and if it's locally configured or deployed
"amplify add <category>" will allow you to add features like user login or a backend API
"amplify push" will build all your local backend resources and provision it in the cloud
"amplify console" to open the Amplify Console and view your project status
"amplify publish" will build all your local backend and frontend resources (if you have hosting category added) and provision it in the cloud
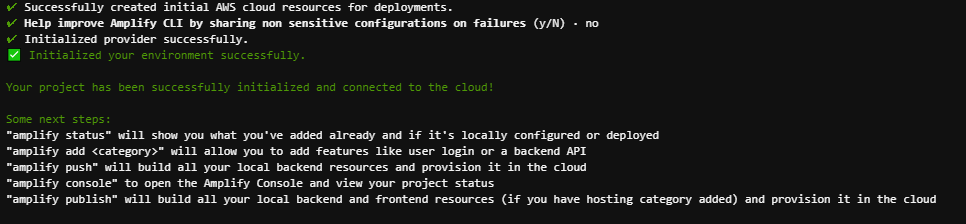
作成が完了しました。
Cloud9 に環境ができたか確認
amplify status
このコマンドを実行します。このコマンドは、いま開発している Amplify 環境のステータス(状況)を表示してくれます。
    Current Environment: dev

┌──────────┬───────────────┬───────────┬─────────────────┐
│ Category │ Resource name │ Operation │ Provider plugin │
└──────────┴───────────────┴───────────┴─────────────────┘
このような表示が出れば OK です。
Category の部分が機能追加していくと、表示が増えますが、いまはまだ何もしていないので OK です。
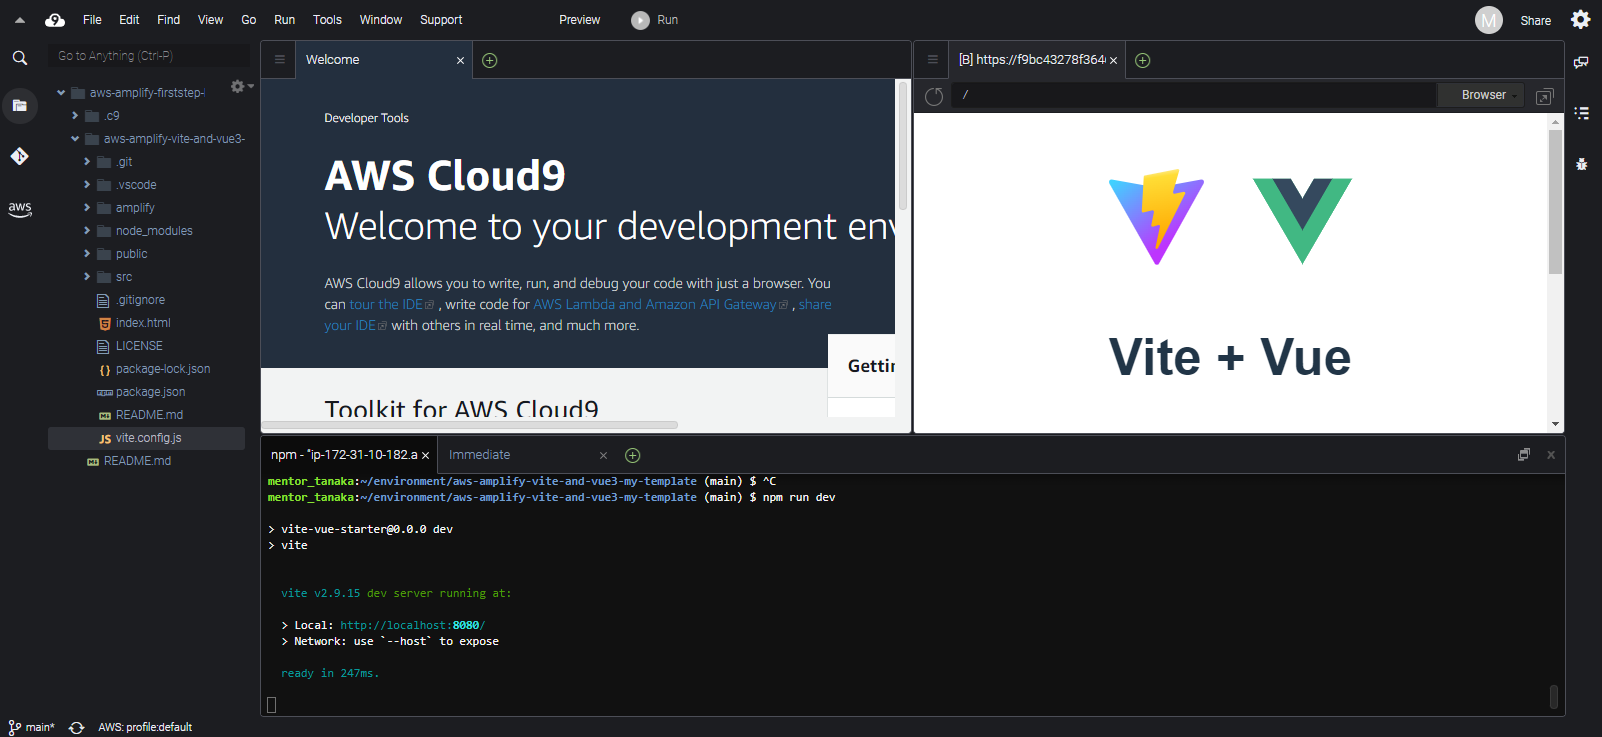
ローカルで起動して Vue を表示してみる
引き続き、aws-amplify-vite-and-vue3-my-template フォルダですすめます。
npm run dev
のコマンドを実行します。Vue の開発サーバーを実行できるコマンドです。
  vite v2.9.15 dev server running at:

  > Local: http://localhost:8080/
  > Network: use `--host` to expose

  ready in 247ms.
と http://localhost:8080/ で起動したことが分かります。
Preview
Cloud9 では、このまま http://localhost:8080/ を表示するのではなく、Preview という機能を使って、今の Cloud9 サーバー内で起動しているコンテンツを表示します。

最後に触れたユーザーインターフェースの近くに表示されるので、一旦ターミナル以外の場所を触っておきます。
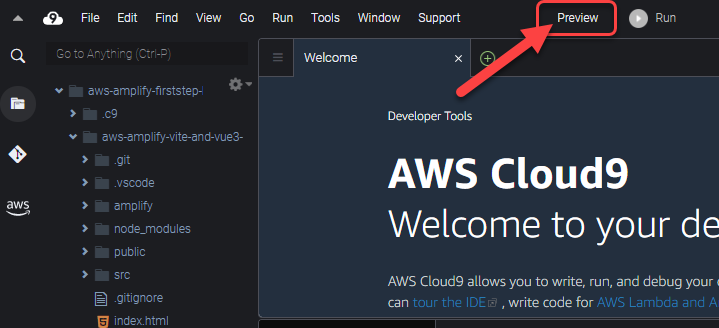
右上に Preview というボタンがあるので、こちらをクリックします。
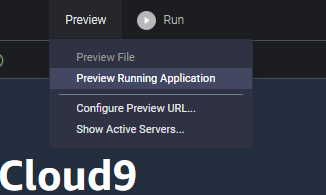
Preview Running Application をクリックします。
このように、右上に Vue のコンテンツが表示されます。これは Cloud9 内ブラウザとして機能しています。
別のタブで大きく表示してみる
これだと、お使いのブラウザによっては小さくて開発しづらいかもしれません。(同時に見れるという点では良いのですが)
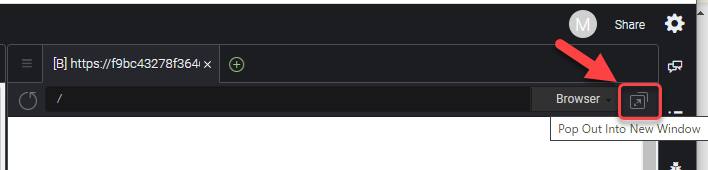
Cloud9 内ブラウザのこの部分に Pop Out Into New Window ボタンがあるのでクリックします。

このように別のタブで大きく表示できます。
Ctrl + C で開発サーバー終了
一旦、表示が確認できたのでCtrl + C で開発サーバー終了しましょう。
ホスティング準備
それでは、一度この状態で Amplify にホスティング機能を追加して公開してみましょう。
amplify hosting add
このコマンドを実行します。手元の Cloud9 でホスティングするための設定を行います。
Select the plugin module to execute … (Use arrow keys or type to filter)

Hosting with Amplify Console (Managed hosting with custom domains, Continuous deployment) を選択して Enter キーを押します。
Choose a type (Use arrow keys)
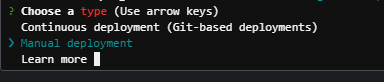
Manual deployment を選択して Enter キーを押します。
Amplify 環境の公開(amplify publish)
You can now publish your app using the following command:

Command: amplify publish
Cloud9 の手元でホスティングが完了し、このようなメッセージが表示されます。
amplify publish
このコマンドを実行します。Amplify 環境の公開を行います。
Are you sure you want to continue? (Y/n)
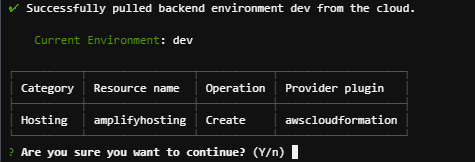
このまま続けるか聞かれるので Y を入力して Enter キーを押します。
作成中
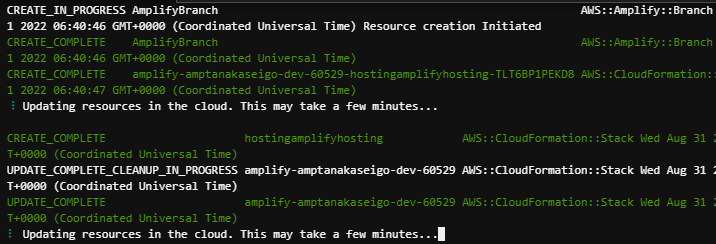
どんどんホスティングの設定が進みます。

このように後半にフロントエンドの Vite + Vue のビルドが手元で終わり zip 圧縮されて Amplify に転送されて展開されてサイト公開されます。
✔ Zipping artifacts completed.
✔ Deployment complete!
https://********.****************.amplifyapp.com
と表示されたらデプロイ成功です!
https://********.****************.amplifyapp.com をクリックして Open をクリックしてブラウザの別のタブで開いてみましょう。
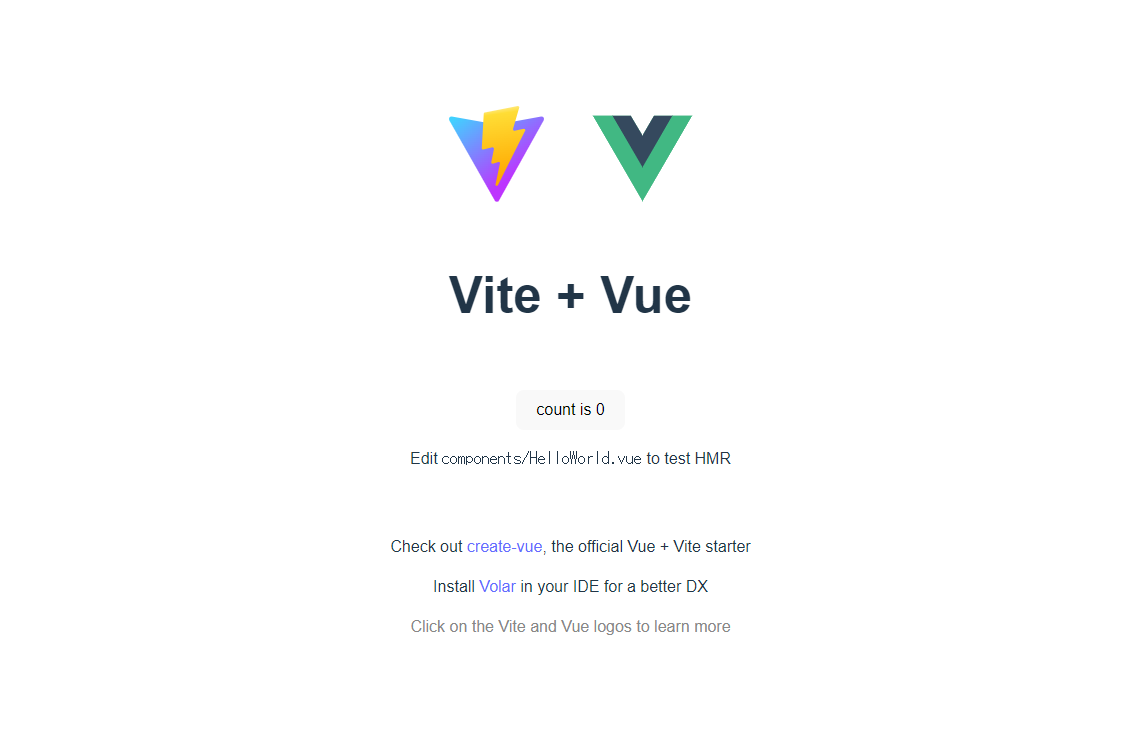
公開されたサイトが確認できるはずです!